Tips Index
SWF (Shock Wave Flash) is a proprietary format for Macromedia’s animation design software Flash. It is widely used in web design, animation, and other fields.
SWF files are also commonly called Flash files and very popular. Now more than 99% of web users can access SWF files.
This file format was created by FutureWave and was later supported by Macromedia with a major goal: creating small files to play animations and be able to run in any operating system and browser and to make it easier for people with slower networks to browse.
SWF can be opened if the browser has the Adobe Flash Player plugin installed that’s why it is necessary sometimes to convert SWF to a much more compatible format like MOV.
This article will focus on convert SWF to MOV using VideoPower BLUE.
VideoPower BLUE is a great tool that has multiple functions and features such as basic video editing, slideshow creation, screen recording, and audio and video conversion. This software can convert SWF to MOV.
Download and install the program on your PC with the link below to start the conversion.
Step 1: Add the SWF file to the program
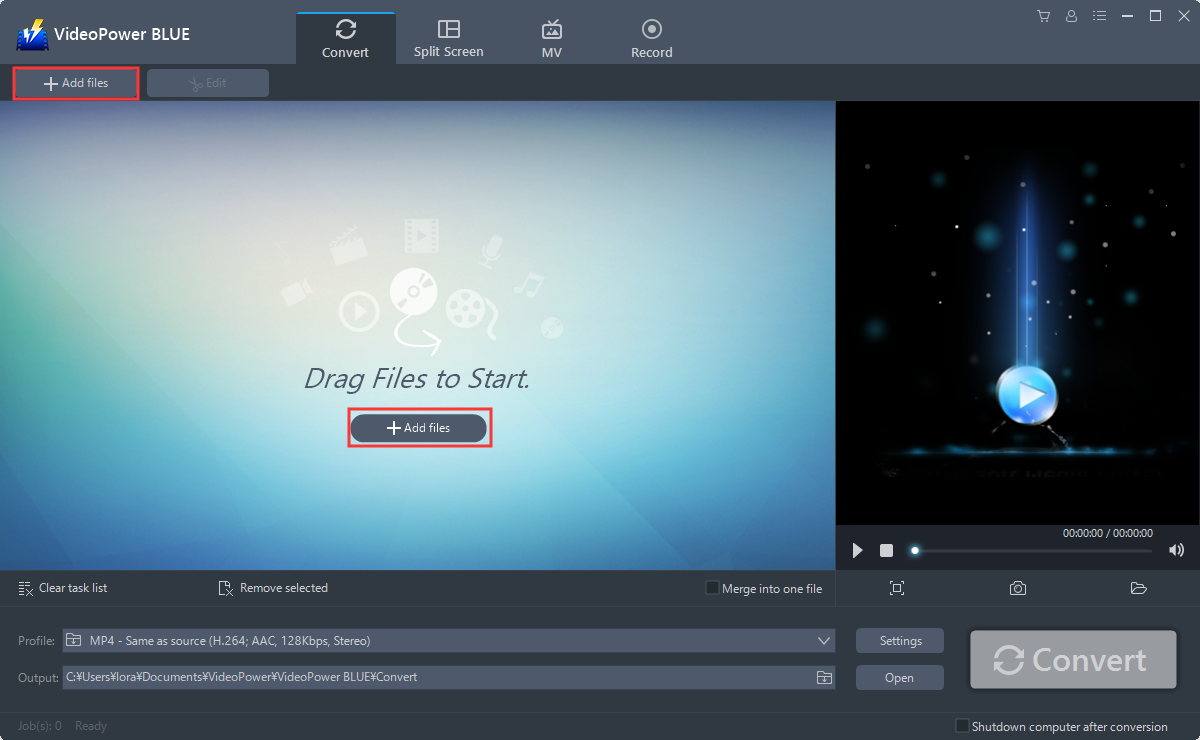
Run the program if you have installed the Video Converter software – VideoPower BLUE successfully on your PC. You can directly import the file to the program by clicking the “Add files” button or by drag-and-drop the file to the interface.
Step 2: Edit the SWF video
If you need to edit the video first before converting, just follow the instructions below.
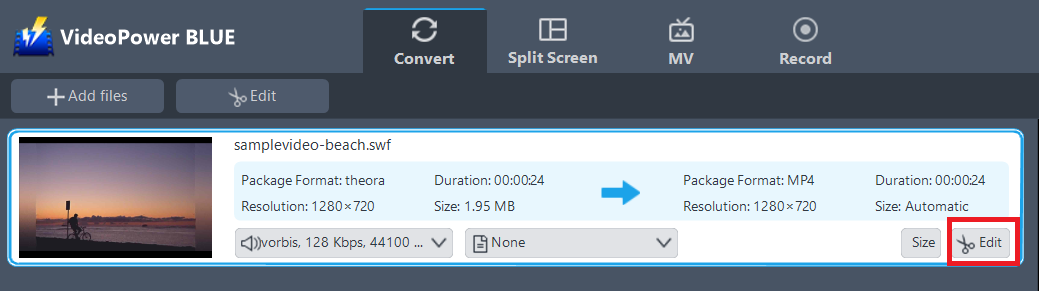
The imported SWF file is displayed in the list.
Click the “Edit” button on the right side of the file.
The built-in video editor will pop up, with its help, you can make the perfect movie. Adjust speed and volume, trim, cut, crop, rotate or flip videos. Add effects, subtitles and watermark while adjusting brightness, contrast and saturation that will make editing conveniently easier.
For example, you can trim your video as shown below:
1.) Click “Add Trim Marker”.
2.) Drag the mark as shown below to select the part you want to cut.
If you want to select multi-sections, please repeat 1 and 2.
3.) Choose “Keep the selected section” or “Delete the selected section” from “Preferences”.
4.) Click “OK” to save the setting.

Step 3: Convert SWF to MOV format
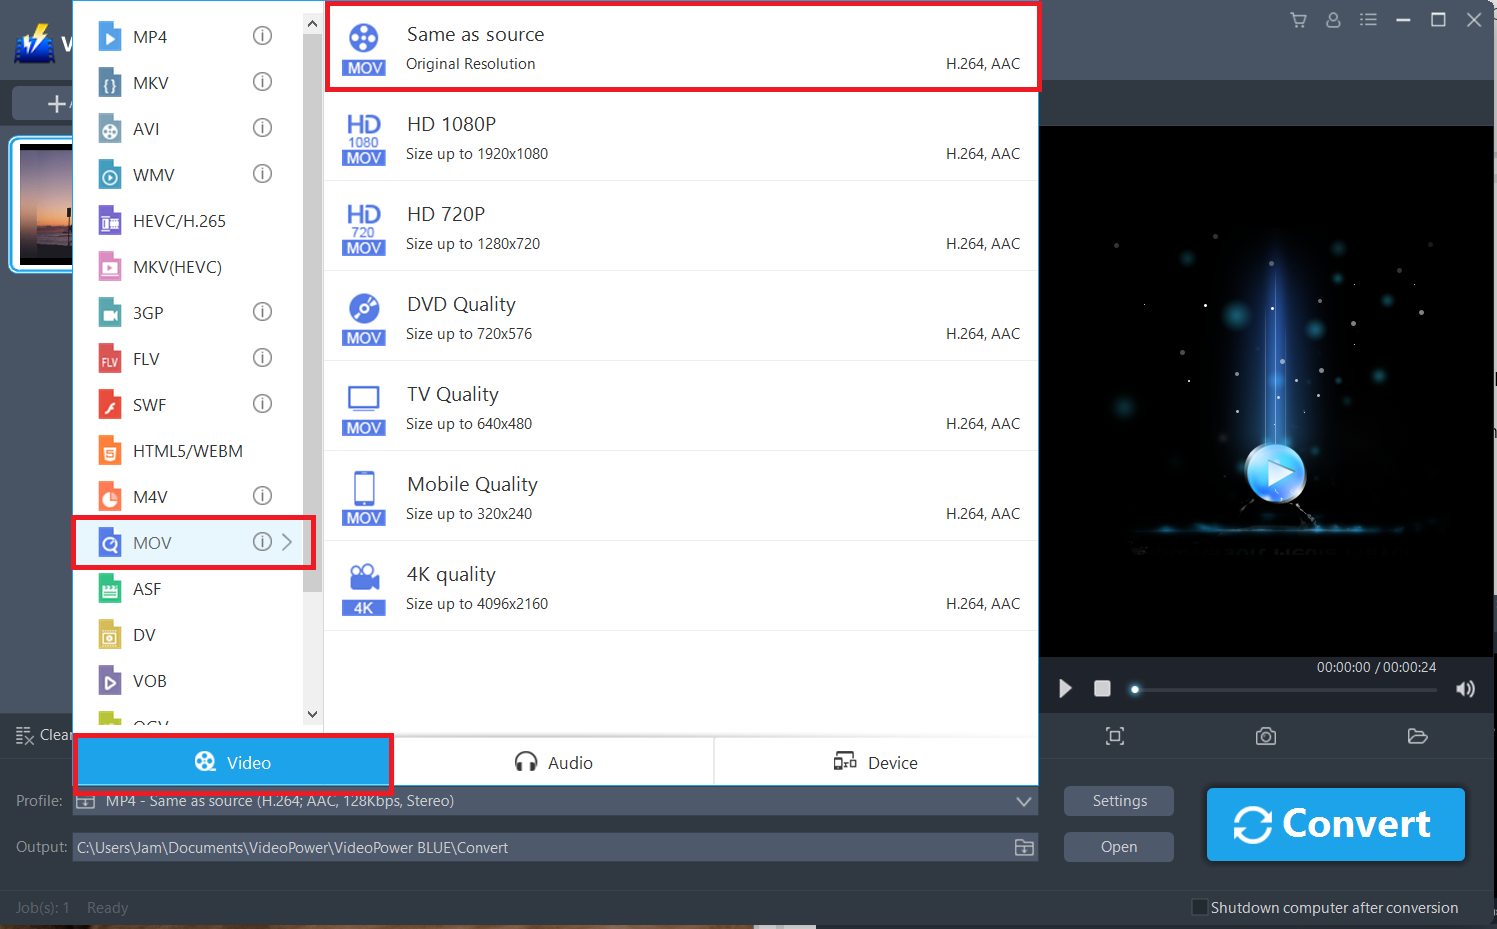
3.1 Set the output format.
Click to open the “Profile” drop-down menu, then choose the format you want from the profile list. Here choose “Video”, “MOV”, and quality “Same as source” or other options like “HD”, “4K quality” as per your need.
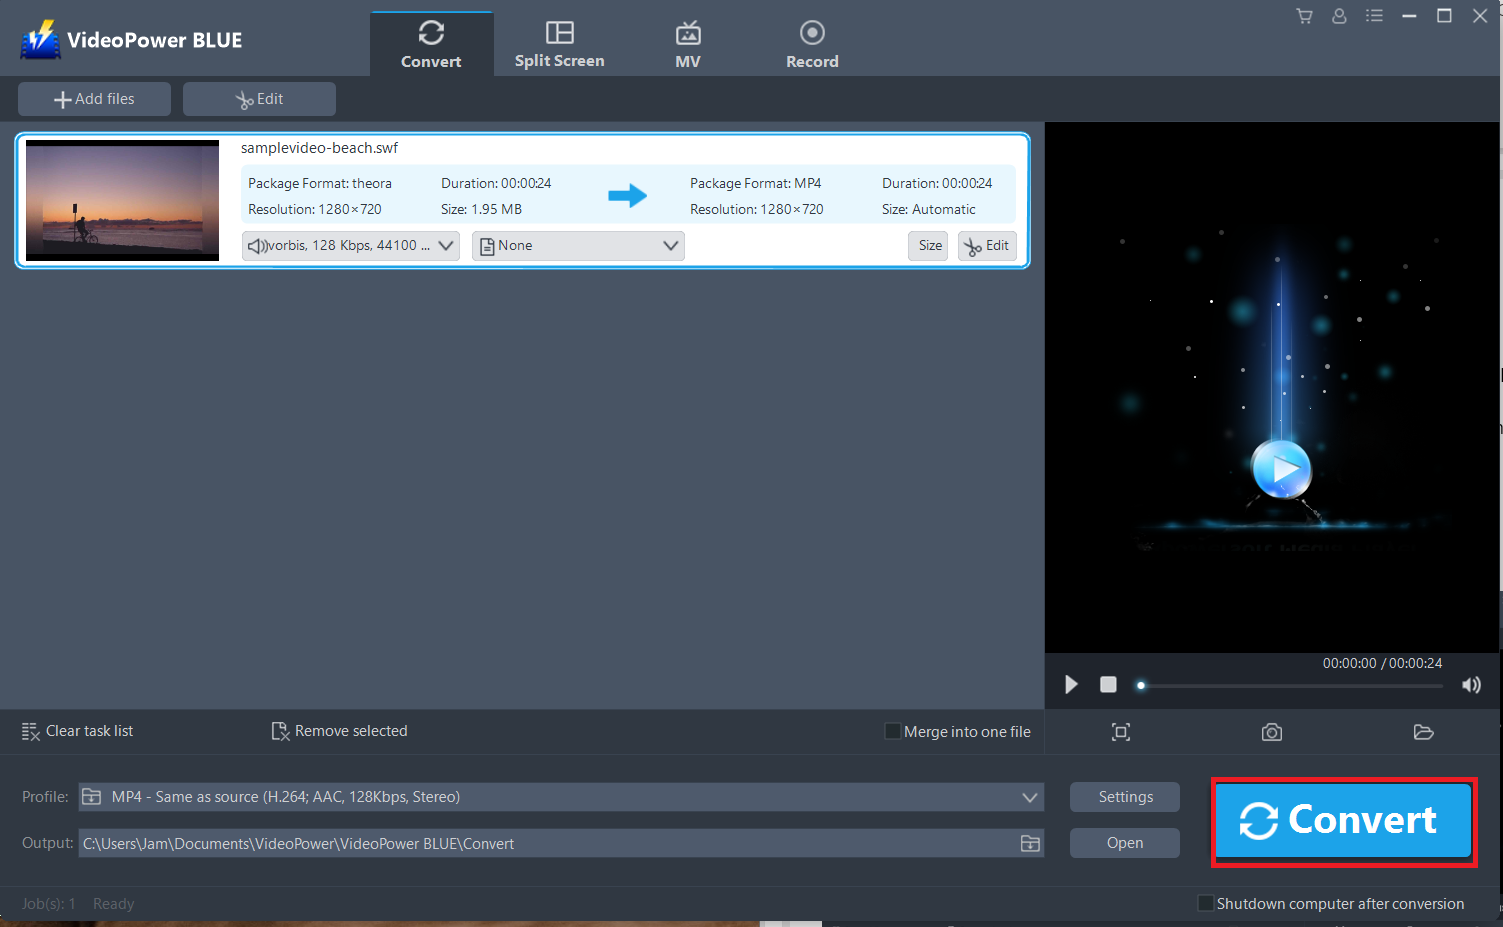
3.2 Start Conversion
Return to the file list.
Click the “Convert” button, then the converted MOV file will be saved in the default output folder.
You can also customize frame rate, bitrate, codec, etc. manually. Just click the “Settings” button to enter the “Preset editor” window, then you can change the value and click “OK” to save the settings.

3.3 Find the Converted MOV files
A pop-up window from the program will appear informing you that the conversion is complete. Click “OK” to open the folder of your saved converted MOV files.
Or you can click the “Open” button to find the MOV video.

Conclusion:
SWF files could be only viewed on Adobe Flash Player and most of the widely used multimedia players like QuickTime or portable devices like iPhone, iPad, and iPod cannot recognize SWF files. The best way of utilizing a video converter which is probably the simplest and most common way of doing it.
Due to its wide array of formats to choose from, it is the best converter out there. VideoPower BLUE, a powerful converter that supports any video formats with video editing function, enables adding subtitles, apply watermarks, make MV and split-screen videos. More importantly, it can record screen activity in many different ways, offline and online.