Tips Index
YouTube is suitable for all devices such as phones, and computers. However, when using devices such as phones the screen is too small, so does the video, which makes the watching experience full of inconvenience.
Rotating a YouTube video isn’t possible after uploading the video you recorded or edited. This is one of the issues of YouTube because it doesn’t allow vertical video formats.
Most of the time, you need to rotate the video to a certain degree to make it watchable. Even if you are watching YouTube videos online or you have downloaded it, you can likely rotate the videos on the angle that you want and it will be fortunate if you know how to do it. If you feel it is helpful, share it with your friends. If you are a content creator or just a regular visitor of YouTube, Facebook, Instagram, Vimeo, and Dailymotion in need to rotate video from these sites, look no further! The steps below will help you rotate the videos you want.
VideoPower BLUE – is one of the most comprehensive video editing software. Many functions such as video and screen recording, images and music conversion, cut editing, video collage, slideshow creation, etc. are integrated. Rotating you YouTube Video using VideoPower Blue software becomes easy.
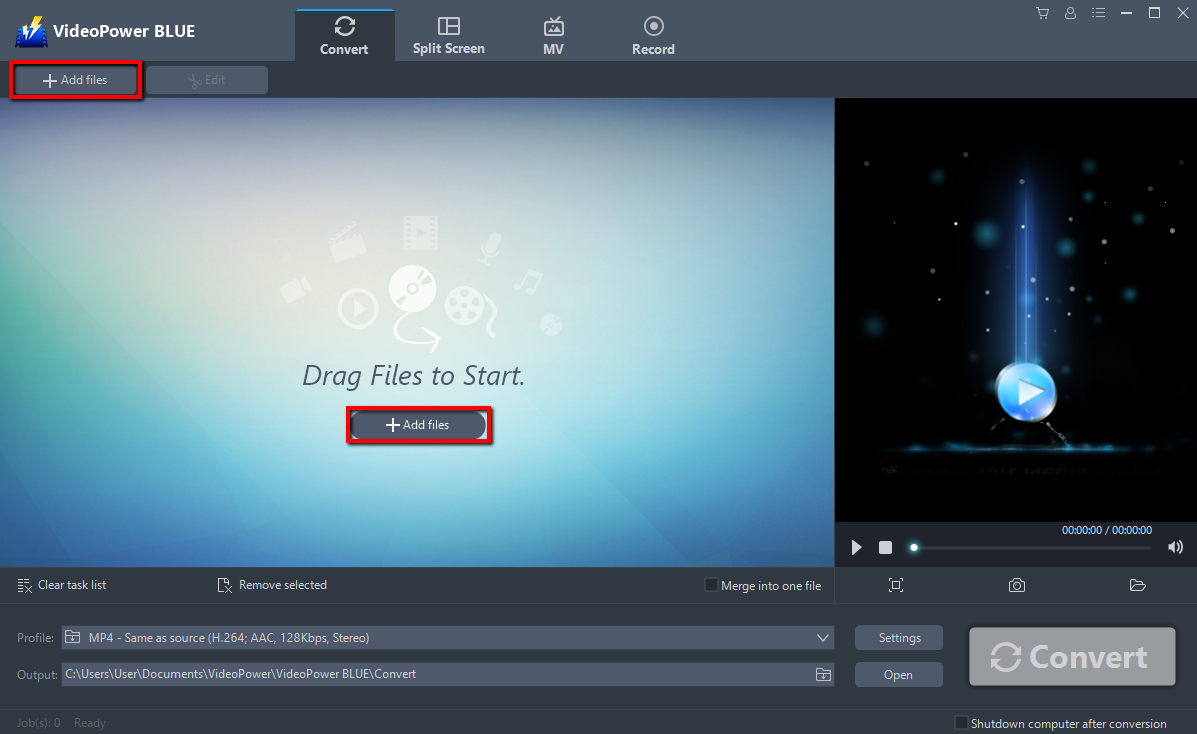
Step 1: Import files to VideoPower BLUE
Launch the video editor program and click “Add files” or drag and drop a file to the interface.
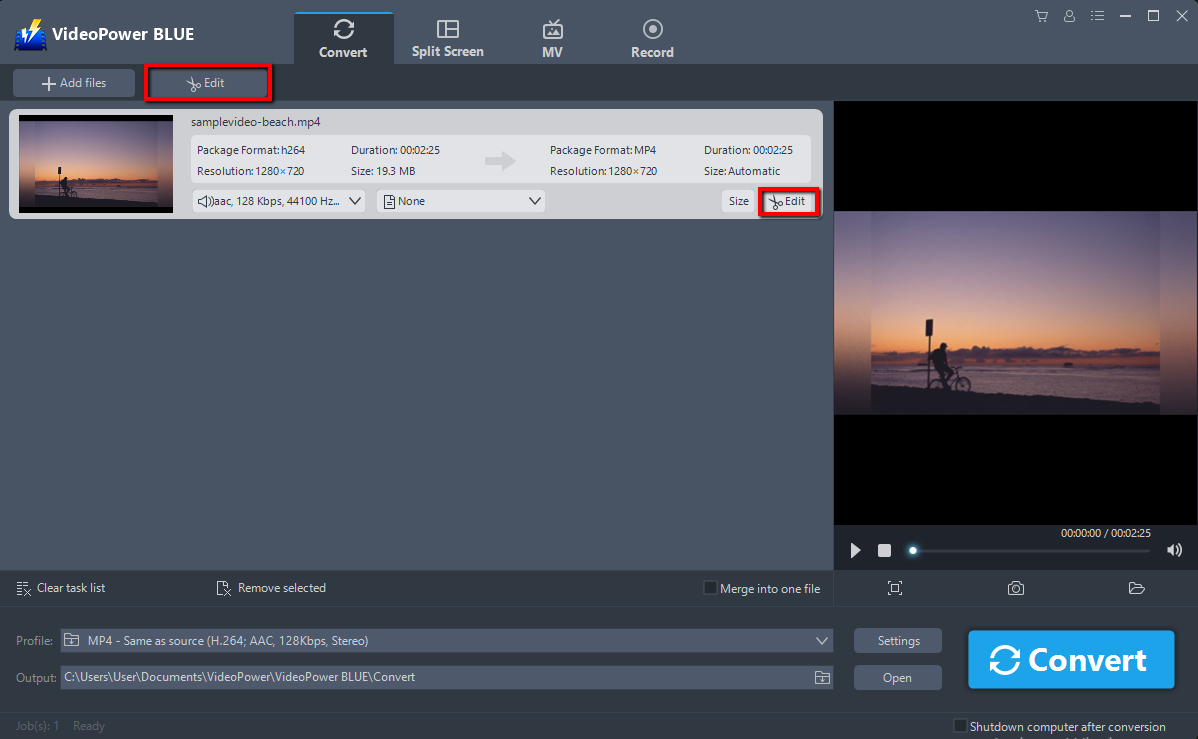
Step 2: Edit video
Click the “Edit” button at the right side of the added video to enter the “Edit” window so you can make modifications or changes to your video.
1. To Rotate your Video, Click “Rotate your Video left” or “Rotate your Video right” in the “Adjust” section of the toolbar.
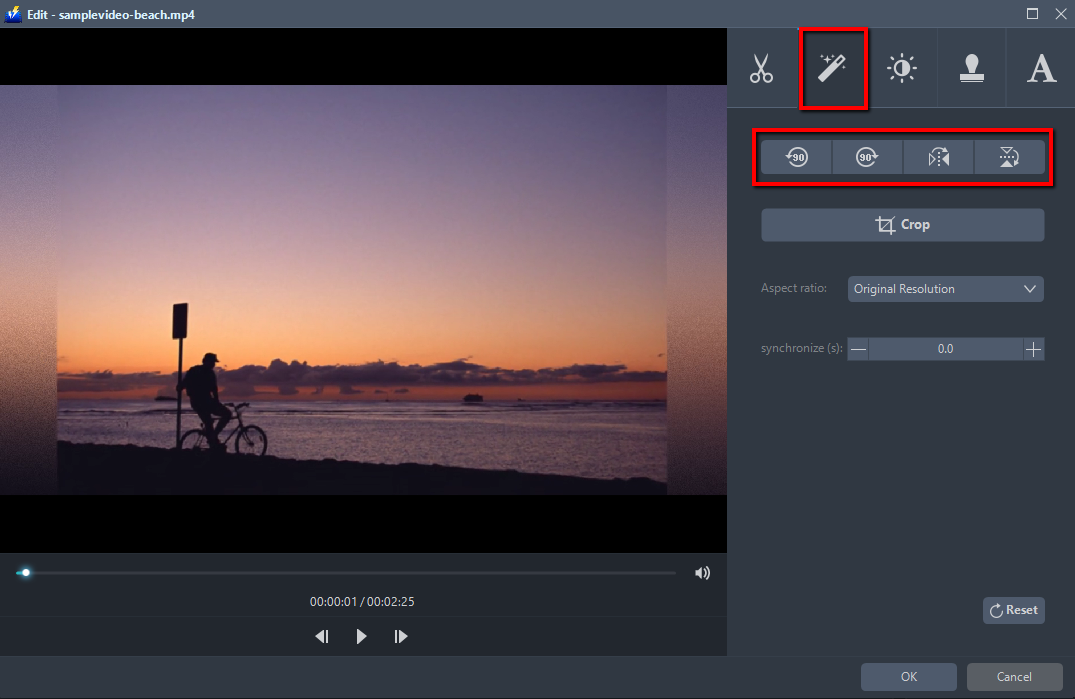
You can do more editing of the video:
Crops and zooms in on videos and supports ration changes such as 4:3 to 16:9.
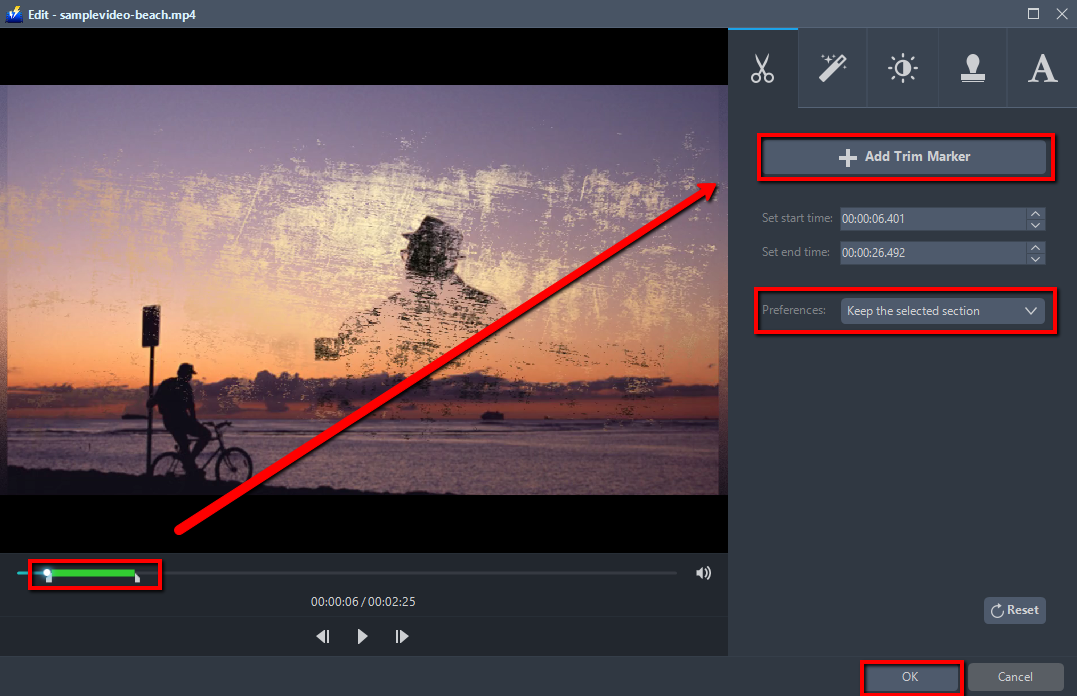
2. To Trim your video, click the “Add Trim Marker” and then set the start time and end time. You can click the up and down button or drag the slider to set it. After done, delete the selected section.
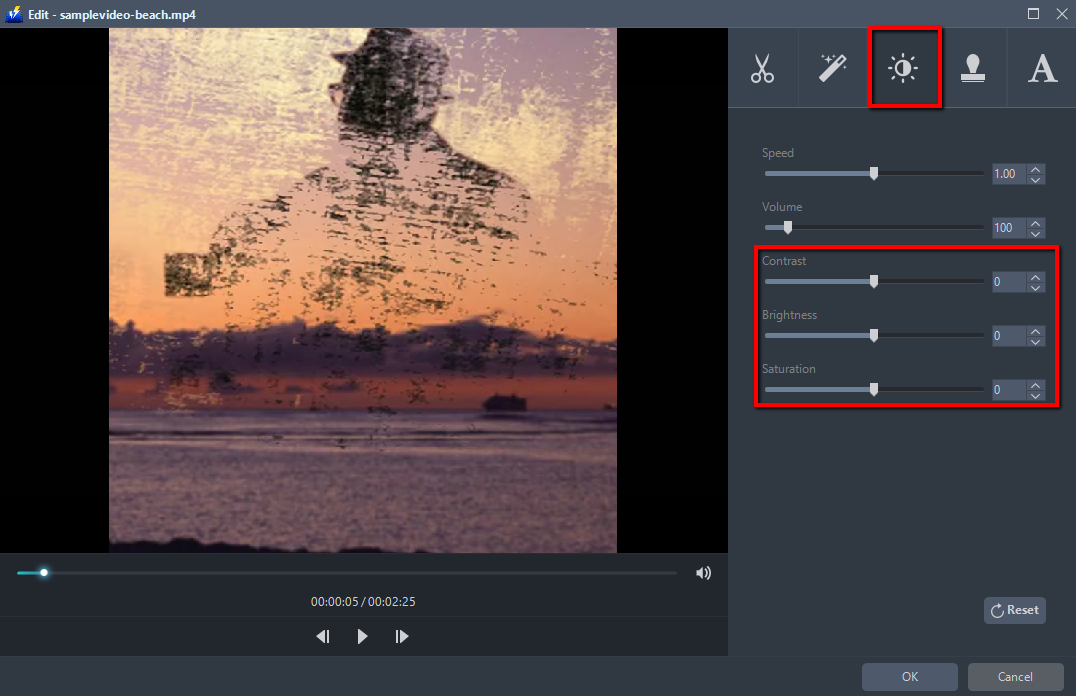
3. To correct the image quality of the unsatisfactory video, such as slightly dark, missing videos with brightness, saturation, contrast.
4. Adjust the playback speed. It can be set from a slow playback of 1/2 speed to double speed.

5. Correct the gap between animation and sound. Synchronized correction of video with a gap. Adjust the volume too.

6. Add watermark on the video

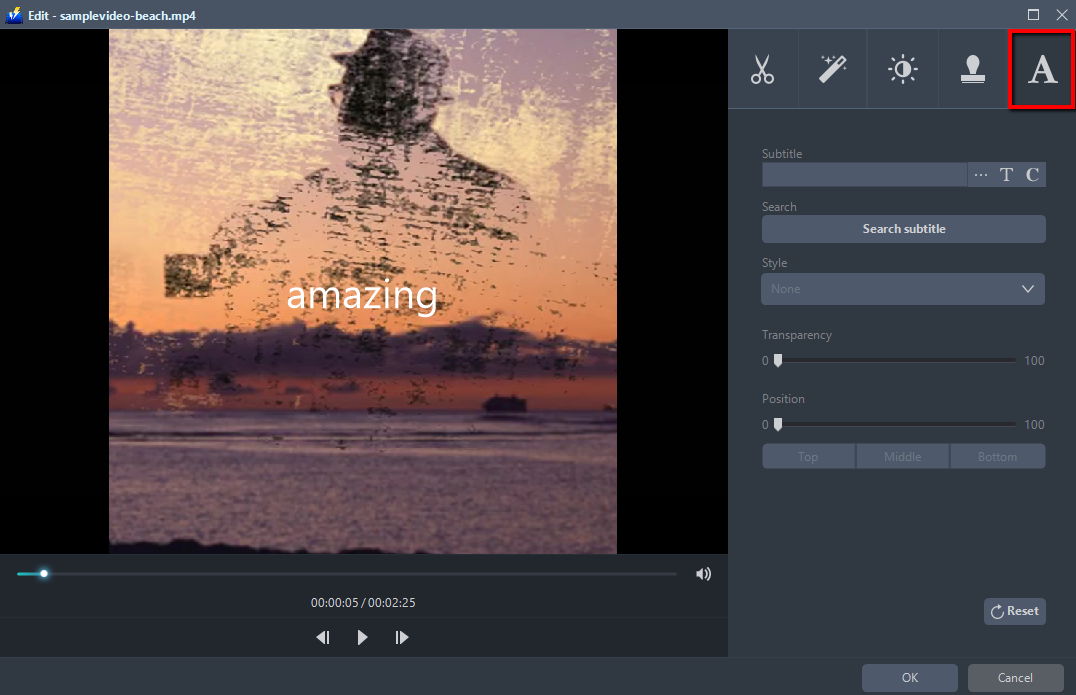
7. Add subtitles for the video.
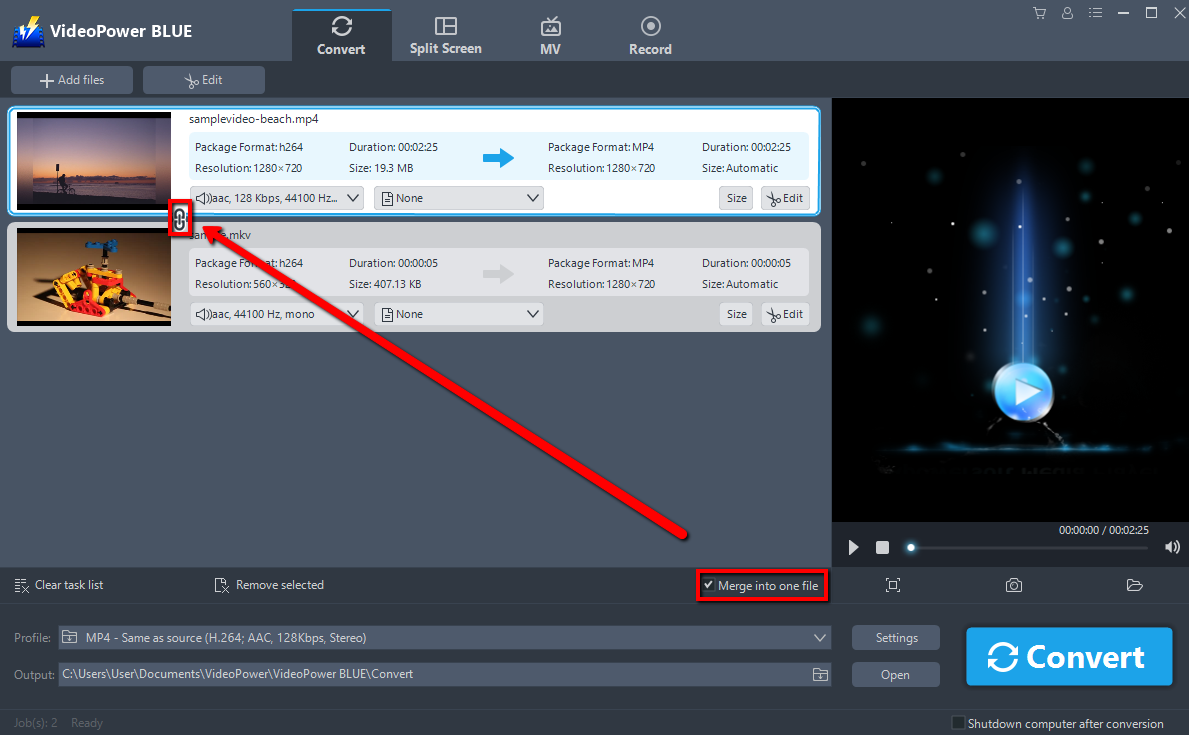
8. Combine video files and save as one video.
Step 3. Save the edited video
When all is done with the editing, click the big blue “Convert” button to start the conversion process.

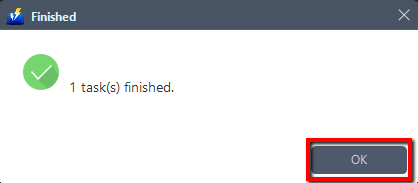
A pop-up window from the program will appear informing you that the conversion is complete. The software will convert your video to MP4 format by default. Click “OK” to open the folder of your saved converted files.
Conclusion:
VideoPower BLUE software can convert all video and audio files into common formats and devices easily. It’s handy and reliable that you can even convert in batches simultaneously while preserving good quality.
It has a built-in video editor that will enable you to edit slideshows or videos, apply watermarks, effects, and other basic video editing options such as trimming or cropping. Moreover, it has a split-screen tool for your photos and videos and a screen recorder which allows you to capture any on-screen activity on your computer. There’re so many advanced functions equipped in this program, which offer more options for you to convert and edit media files.