Tips Index
Making tutorial videos is one of the best ways to help people understand things better. Many people find watching tutorial videos is more effective than reading a whole article two or three times in order to fully understand what it means. The growing numbers of software to make tutorial videos have flooded the web over the years. Some are desktop-based while others are web-based.
Regardless of your industry, instructional or tutorial videos are the best delivery method to show others about your growing business, or building an online channel.
In this article, you’ll learn about this amazing, hassle-free, trusted, and has professional features video downloader and editor software.
VideoPower BLUE is fast and flexible that it could record videos and audios in seconds, in case you need those things for reference when you make your tutorial videos. It’s all packed in this software.
The RECORDER feature is perfect in recording your tutorial videos as it has options to record your screen activity and webcam plus it gives you the option to choose the sounds to be recorded as well. It also allows users to record audio directly from the computer system, microphone or both.
It has a handy and reliable built-in video editor that will enable you to edit slideshows or videos, apply watermarks, effects, and other basic video editing options such as trimming or cropping, etc.
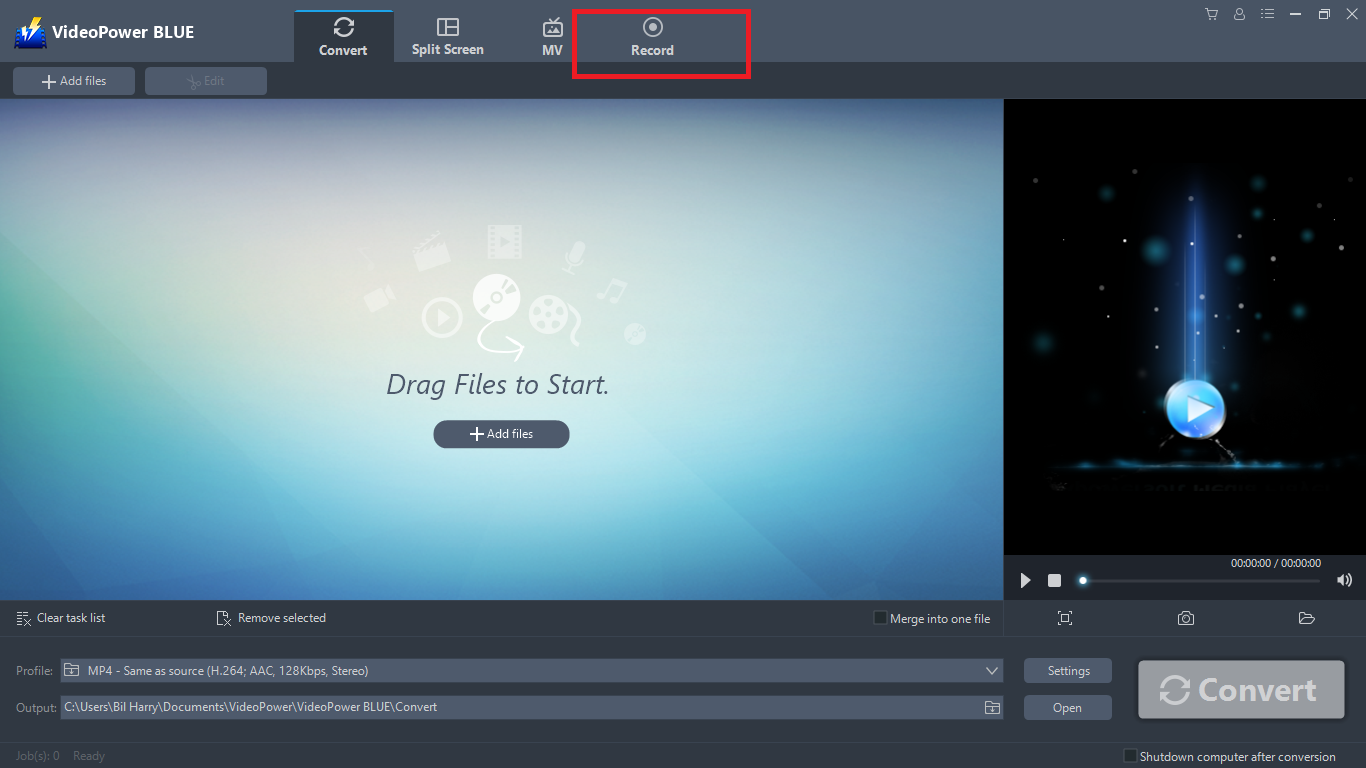
Step 1: Open Record Window
Navigate to the Record window. Click the “Record” button found in the interface.
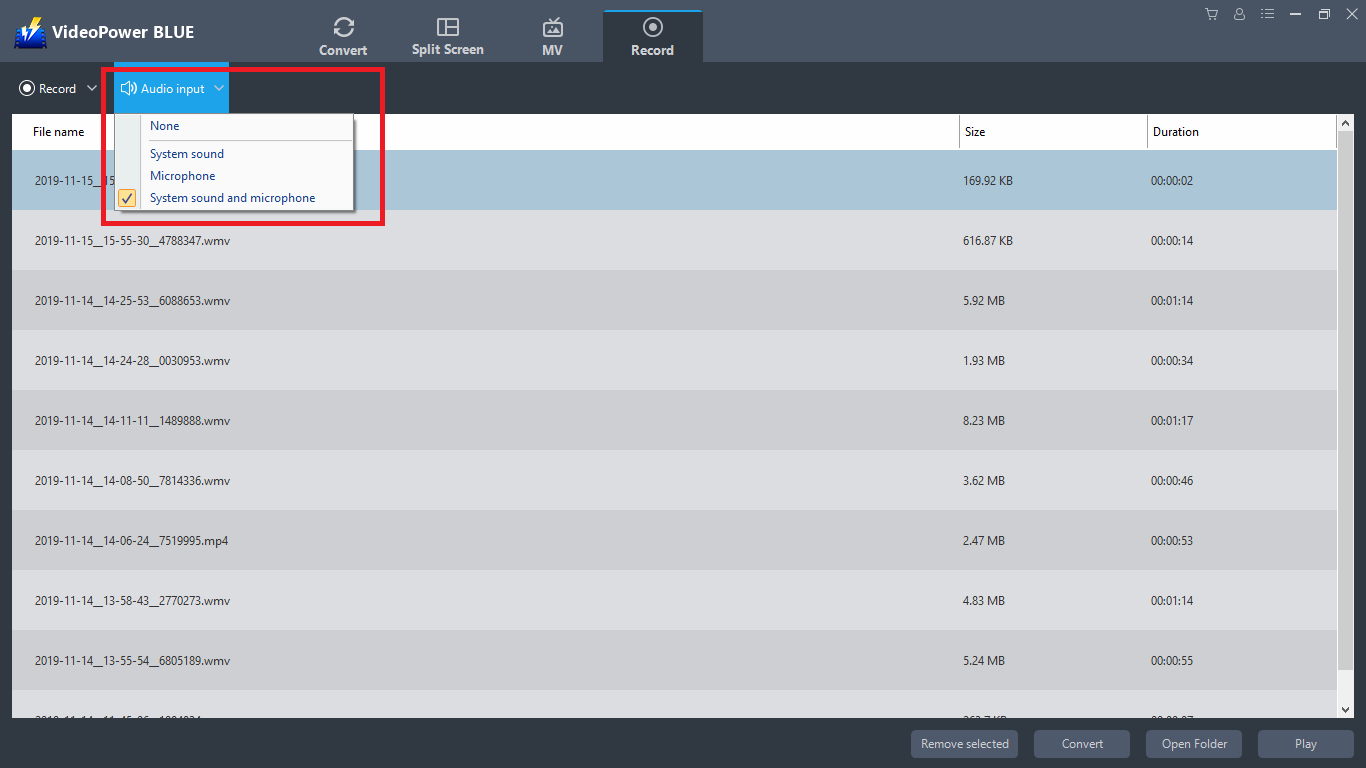
Step 2: Set the Sound Source
Click the “Audio Input” button and choose from the enumerated sound sources such as ” System Sound”, “Microphone”, “System Sound and Microphone” and “None”. Select the one you preferred.
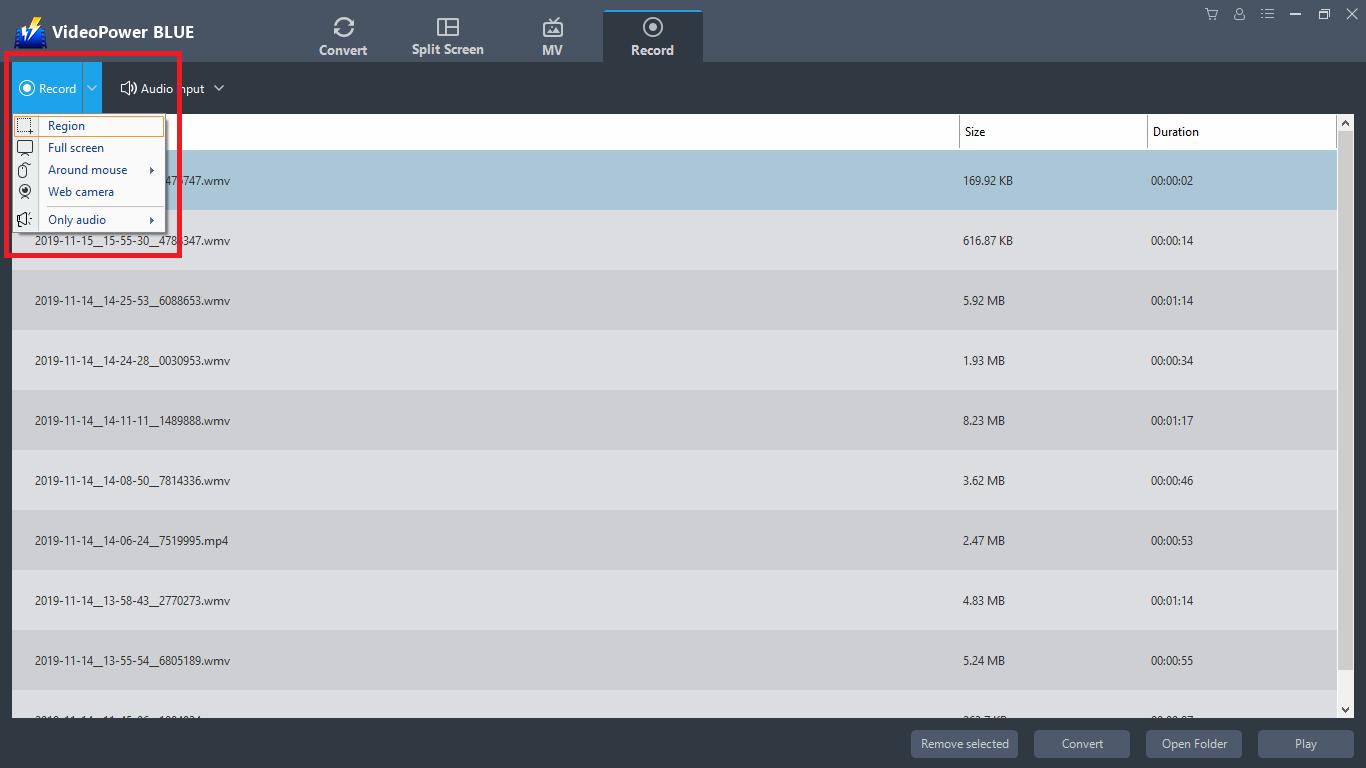
Step 3: Set Recording Mode
Before recording, set first the recording mode based from your needs to capture well the specific range of the recording. Choose among “Region”, “Full screen”, “Around mouse”, “Web camera”, and “Only audio”.
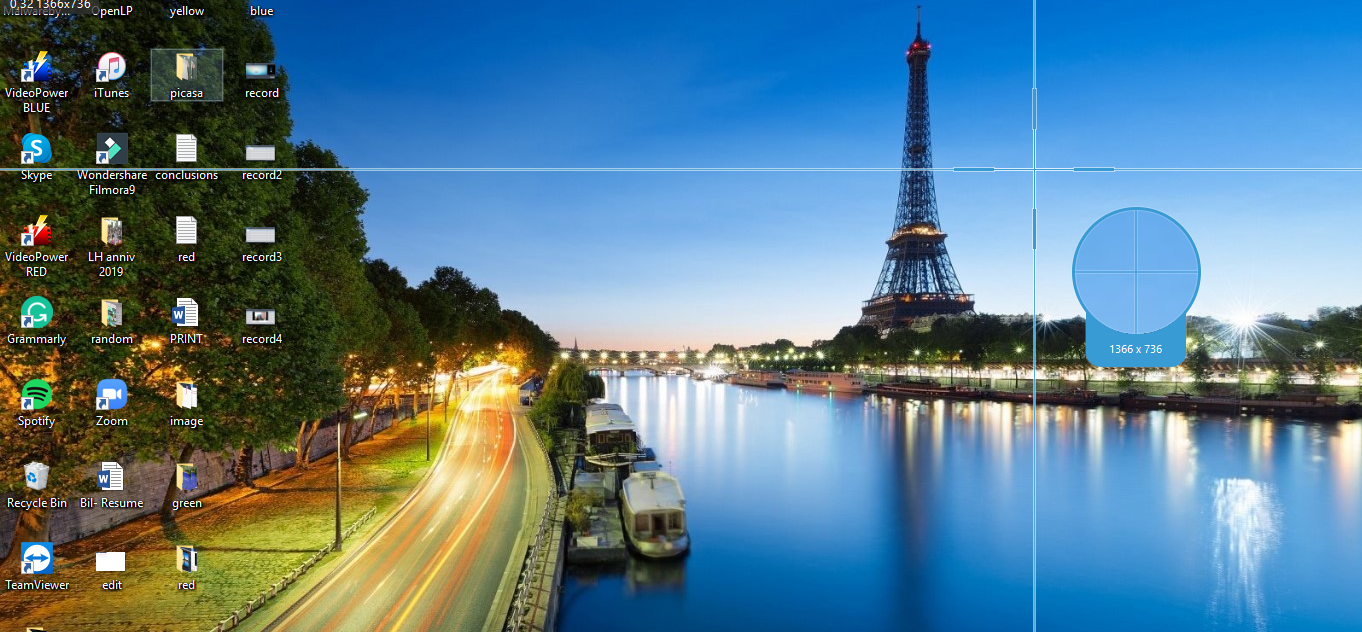
Step 4: Start Recording
Start recording either your screen or your webcam or both for your video tutorial.
Step 5: Edit the Video.
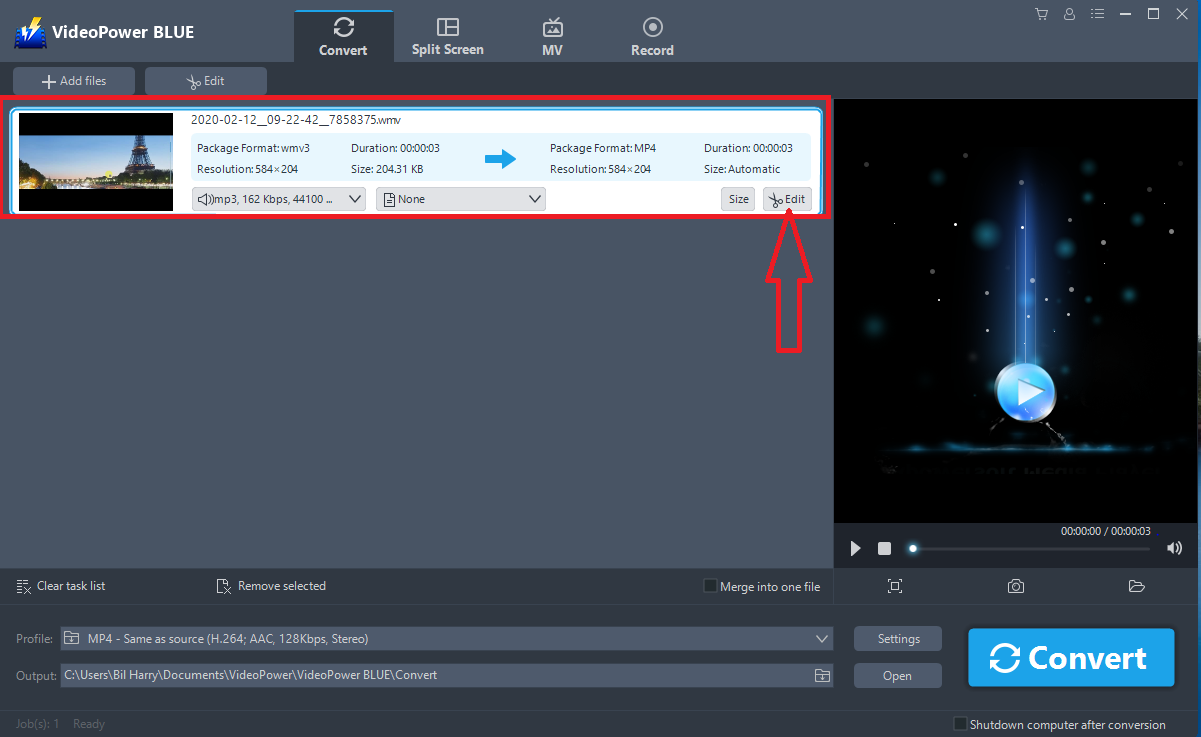
If you want to edit the video first before converting, just follow the instructions below. The imported video file is displayed in the list. Click the “Edit” button on the right side of the file.
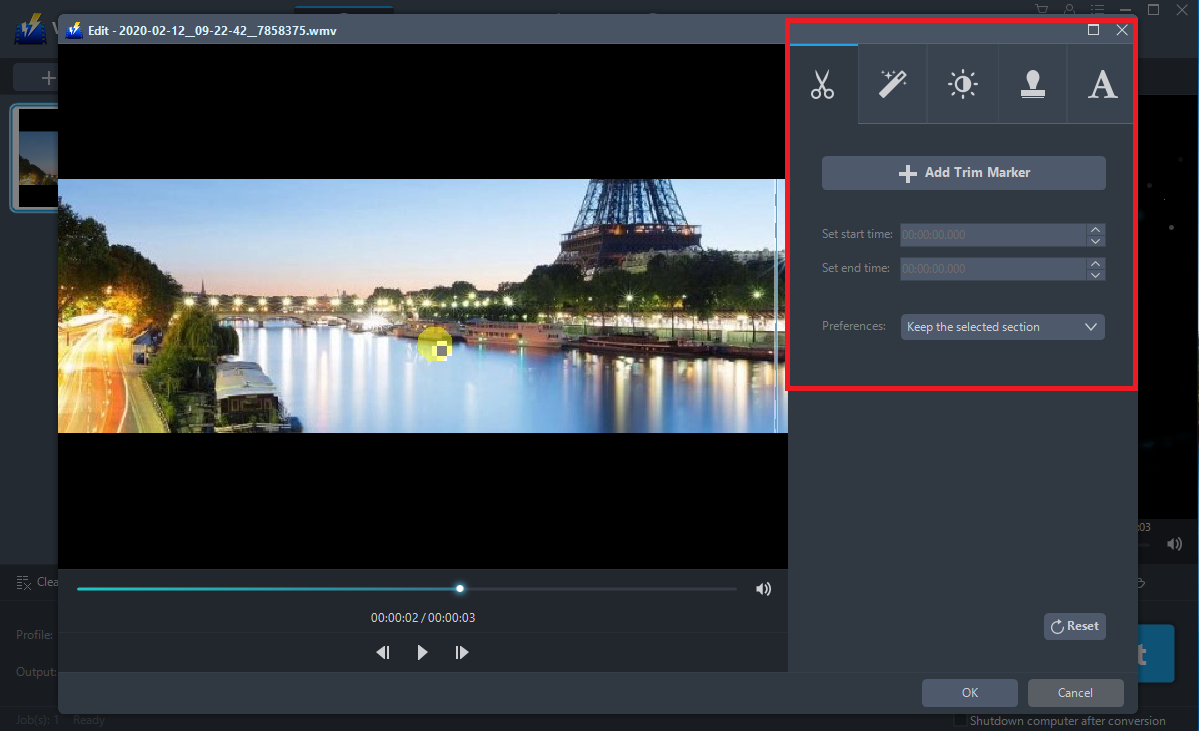
The built-in video editor will pop up, with its help, you can make the perfect movie. Adjust speed and volume, trim, cut, crop, rotate, or flip videos. Add effects, subtitles, and watermark while adjusting brightness, contrast, and saturation that will make editing conveniently easier.
There are five different options for editing: Trim, Adjust, Effect, Watermark, and Subtitle. You are able to adjust aspect ratio, playback speed, contrast, volume, add watermark, subtitles, and so on.
You can do the following steps to change some EFFECTS on your video:
Speed – Speed up, slow down, the tempo of your video.
Volume – Set sound level.
Contrast – Change or adjust the difference in lightness, brightness, and/or hue.
Brightness – Where you can adjust how lightness or darkness you want your video.
Saturation – Adjust the intensity of color in an image.
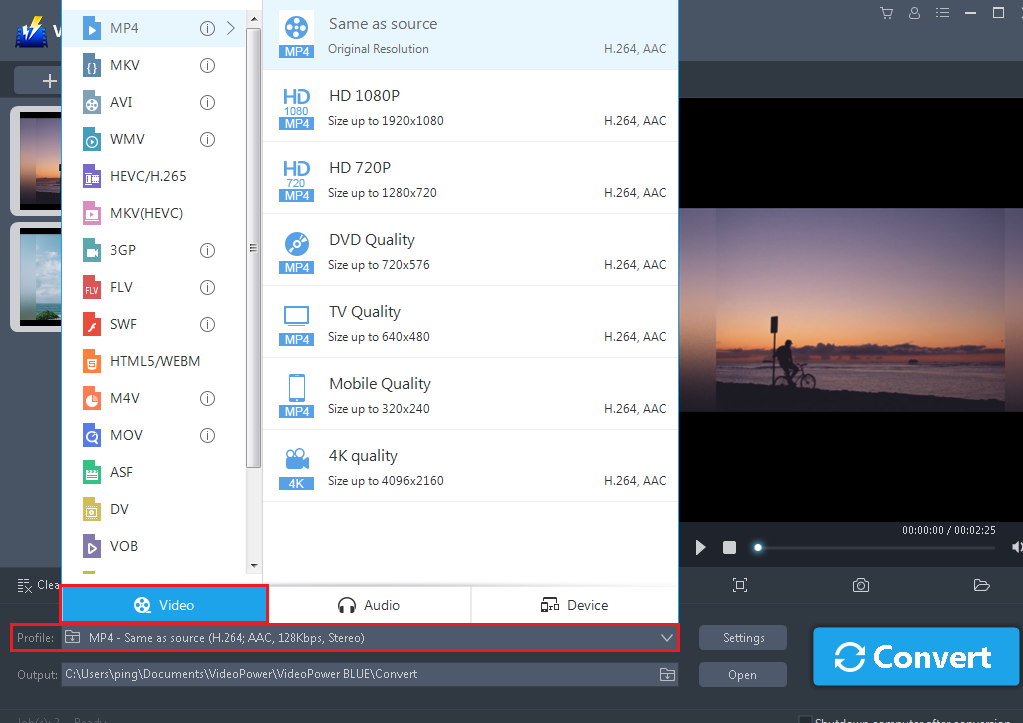
Step 6: Set Output Profile Format
Before conversion, set up the output profile format. In the “Profile” pull-up bar, select the video format for your want to be converted to. Each video format also has a variety of sizes and quality options to choose from. Select the one you preferred.
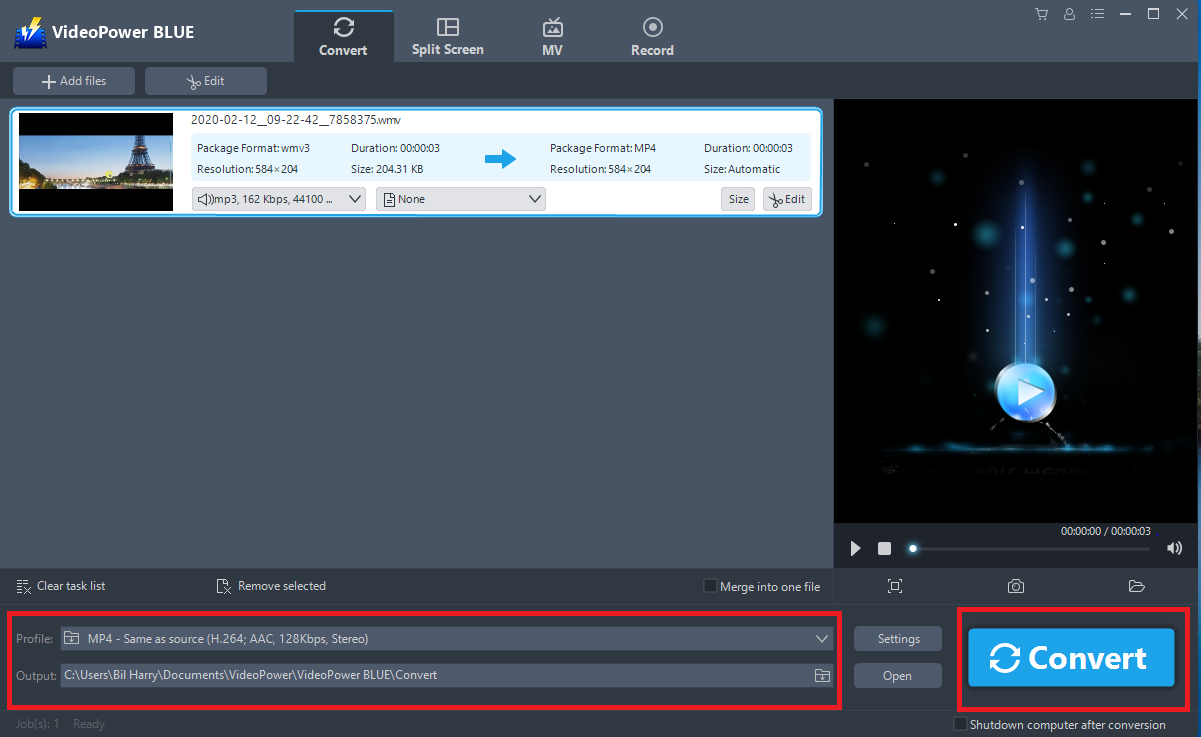
Step 7: Set Output File Location and Convert Video
Set the video save directory in the “Output” pull-up bar. After setting it, click the “Convert” button to start converting the video.
After the conversion is completed, a prompt window pops up to indicate that a file has been successfully converted. Click “OK” to confirm and then the software will automatically open the video saving folder. Find the video just converted and exported in the folder, and then preview the video.
Conclusion:
VideoPower BLUE can be regarded as the best software for making a video tutorial for PC because it’s fast and flexible with a built-in video editor that will enable you to edit slideshows or videos, apply watermarks, effects, and other basic video editing options such trimming or cropping. Moreover, it has a split-screen tool for your photos and videos and a screen recorder which allows you to capture any on-screen activity on your computer.