Tips Index
Every video file has its own format depending on its content and type thus most people find it hard to save their desired video with the use of other applications.
Even so, VideoPower GREEN allows you to save every recorded video in the specified file with the default format MP4.
In this article, VideoPower Green lets you know how to save every video file you want by changing the incompatible video format to the compatible one and make it accessible to you in more detailed settings.
Then, install VideoPower Green and follow the steps below.
You can try to use the software for free by downloading its trial version below.
Step 1: Launch VideoPower GREEN on your PC
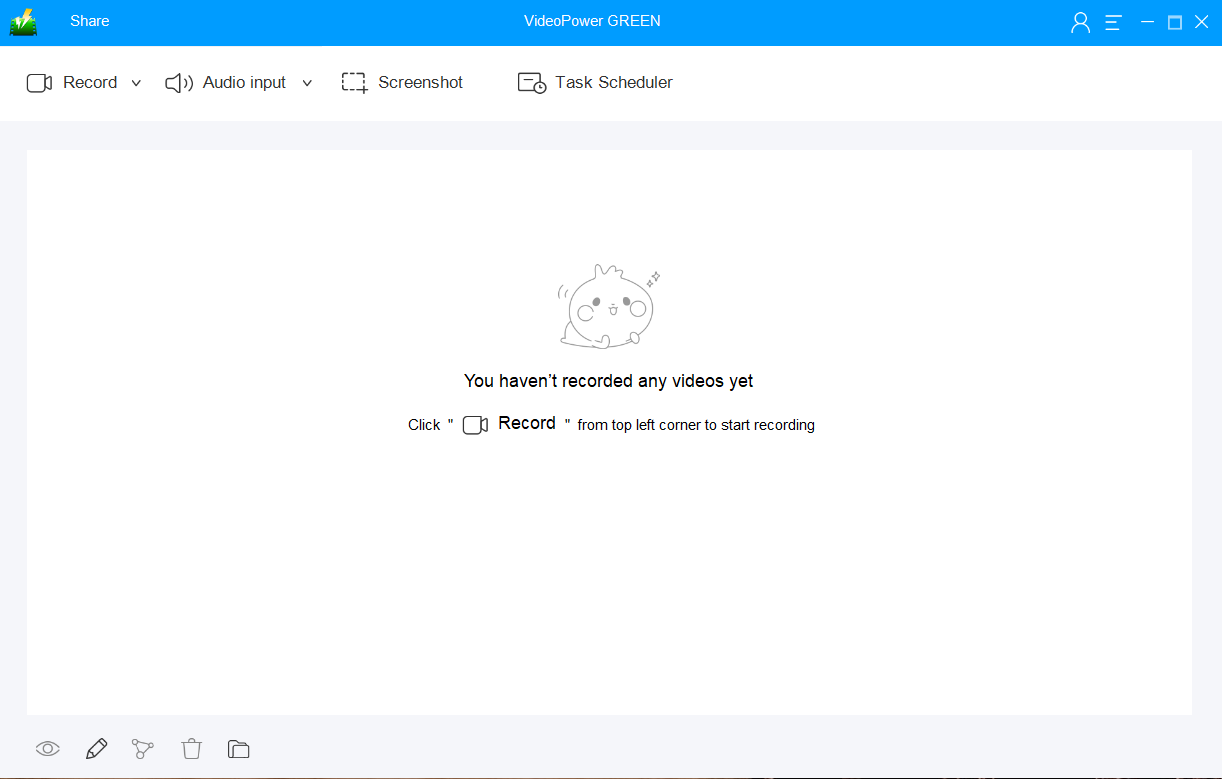
Run VideoPower GREEN if you have installed it successfully on your PC. The main interface of the software should look like this:
Step 2: Manage settings
2.1 Open Settings
1) Click the menu on the upper right corner of the interface.
2) Choose “Settings” from the drop-down menu.

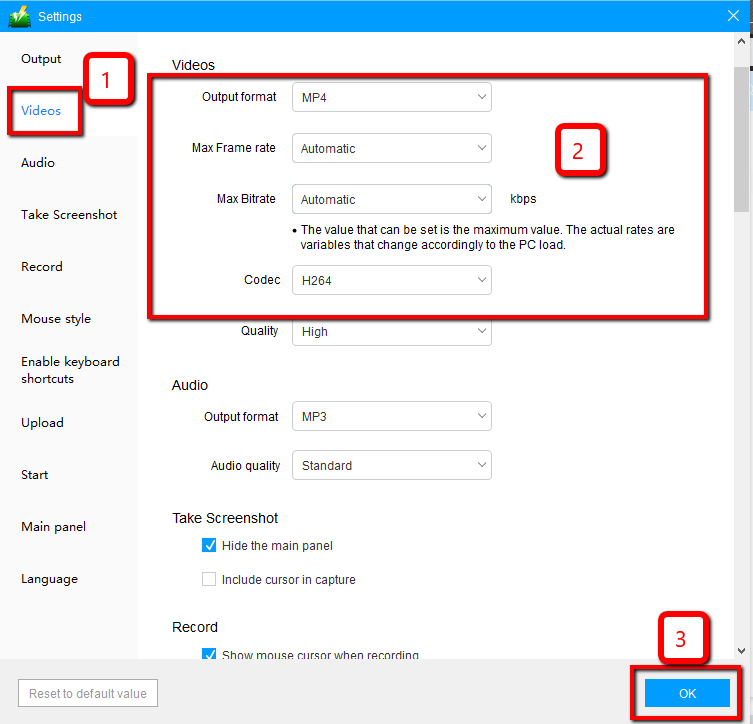
2.2 Customize video settings
1) Click the “Video” tab on the left side of the interface.
2) You are now able to customize the Output format, Codec, Bitrate, and Frame rate of the recording video as per need.
3) Click “OK” to save settings
Step 3: Record screen activities
3.1 Choose an audio source
You can choose:
1) System sound
2) Microphone
3) System sound and microphone
4) None
Note: To record streaming video, you can select “System sound”.

3.2 Select a recording area
Click on the “Record” button to choose the recording mode.
1) Fullscreen
2) Region
3) Audio
4) Web camera
5) Around mouse (select the area you are going to record)

3.3 Start to record
The pop-up window will ask whether you are ready to start recording, click “OK” to confirm when you are ready to record.

3.4 Annotations
While recording you can add lines, arrows, shapes, texts, highlight, blur, etc. by clicking the edit button.
![]()
3.5 End the recording
Click the “Stop” button to stop recording.

Step 4: Manage your recorded video
1) Your recorded file can be seen in the main interface. You can right-click the file and do more operations if you like.
2) Click the folder icon to view it in the pointed output folder.
Conclusion:
VideoPower GREEN is totally packed with amazing features such as recording desktop screen activity. You can turn on your webcam during screen recording and the audio or the microphone. Use the pen tool to highlight things in your screen recording.
Another feature is the task scheduler tool which is helpful if you want to record your screen on a specific time and date, it will automatically record what’s going on in your screen may it be streaming videos, webinars, web cameras, etc.