Tips Index
Whether if you are a gamer who creates your own video channel or an entrepreneur who tries to update your page by making videos for your latest projects and products or even just a simple blogger, you sometimes have moments like talking to yourself saying “I hope I can record them better!”
There are computers in today’s generation that are equipped with screen recording applications and tools but they are not absolute to capture and record your desired computer screen activities. But everything would be fine if you know what to use.
In this case, a screen recording tool is a good choice to record any activities you need to be recorded from your Windows 10 PC.
Check out VideoPower GREEN recording software and see how you can record the on-screen activities of your Windows 10 computer in your own way with this free professional Screen Recorder.
Step 1: Customize the video setting before recording on windows 10
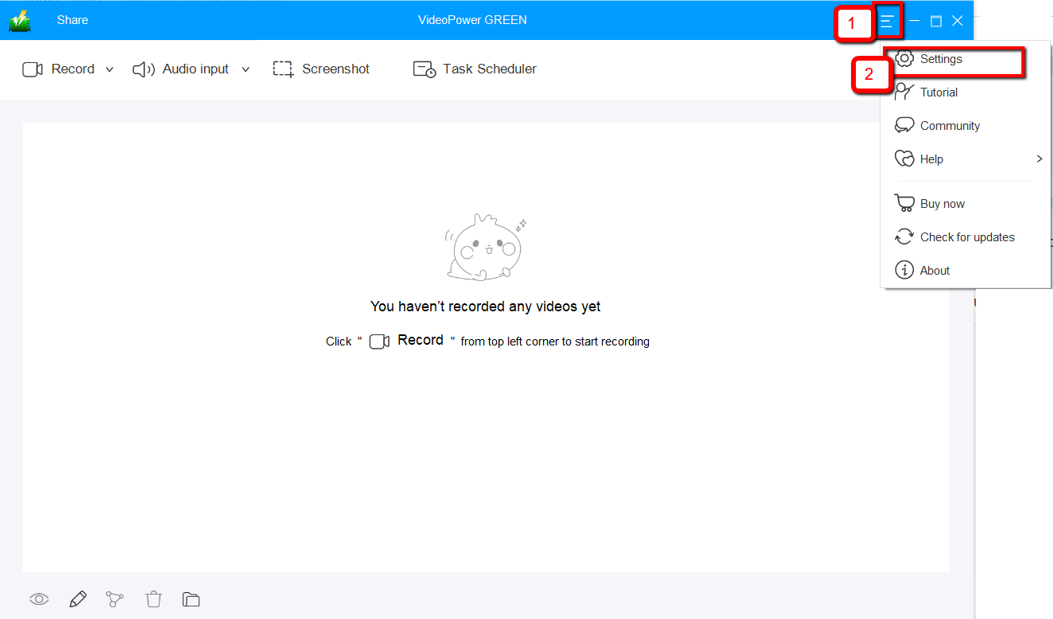
1.1 Open Settings
1) Click the menu on the upper right corner of the interface.
2) Choose “Settings” from the drop-down menu.
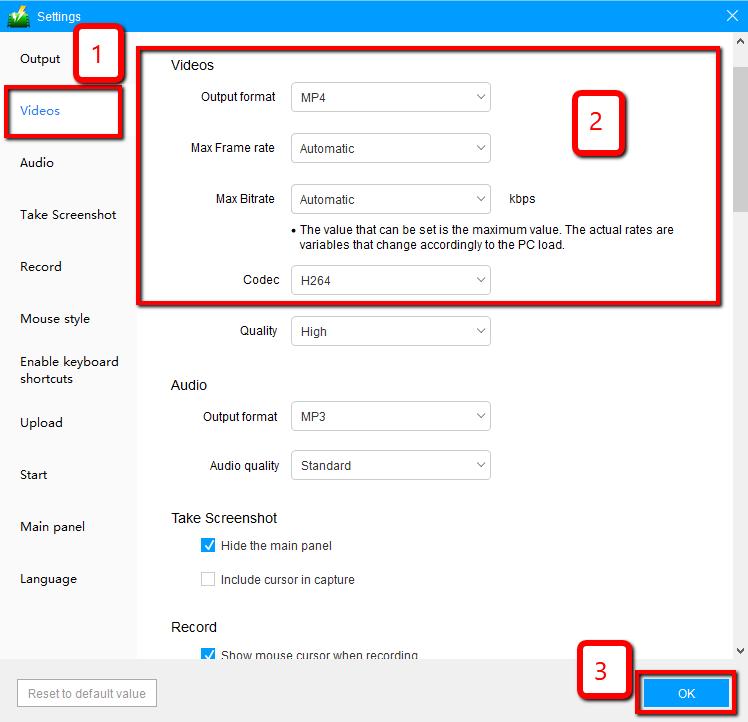
1.2 Change video settings
1) Click the “Video” tab on the left side of the interface.
2) You are now able to customize the Output format, Codec, Bitrate, and Frame rate of the recording video as per need.
3) Click “OK” to save settings.
Step 2: Record screen activities on your windows 10
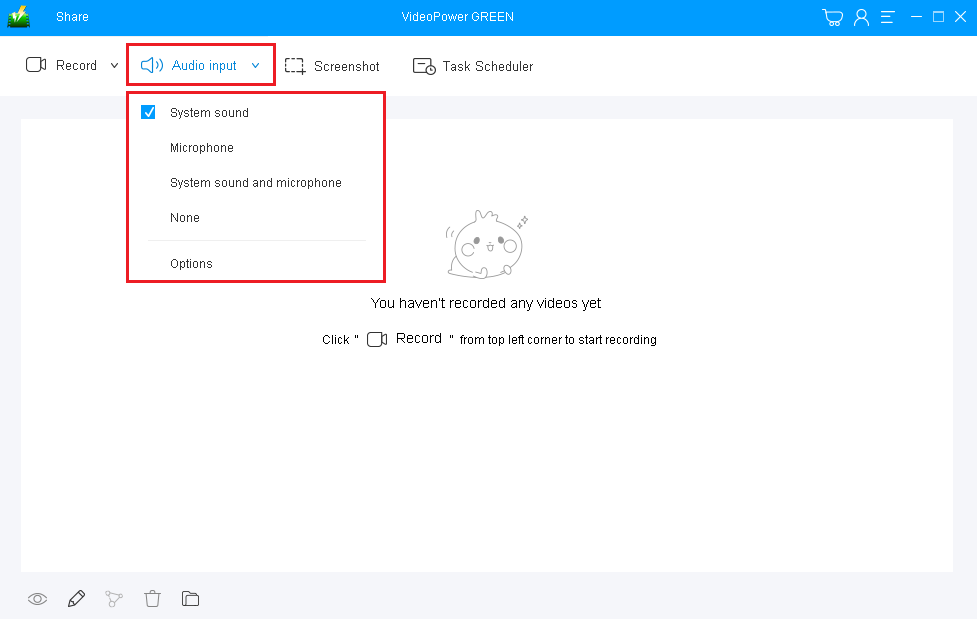
2.1 Choose a sound source
You can choose “System sound, Microphone, System sound and microphone or None.” To record streaming video, you can select “System sound”.
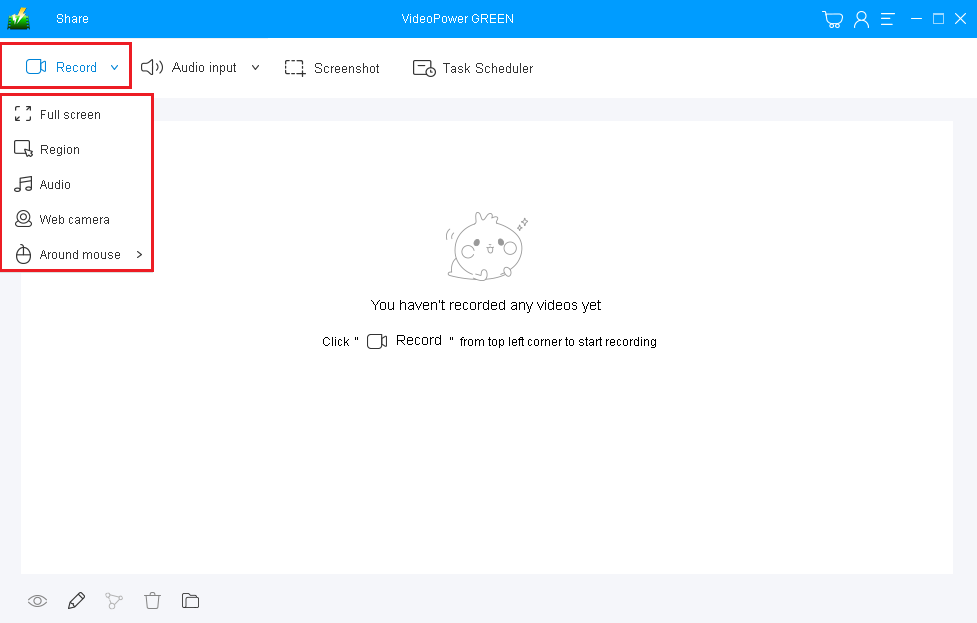
2.2 Select a recording area
Click on the “Record” button to choose the recording mode from “Full screen, Region, Audio, Web camera, Around mouse”. Select the area you are going to record.
2.3 Start to record
The pop-up window will ask whether you are ready to start recording, click “OK” to confirm when you are ready to record.

2.4 Edit video while recording
While recording you can add lines, arrows, shapes, texts, highlight, blur, etc. by clicking the edit button.
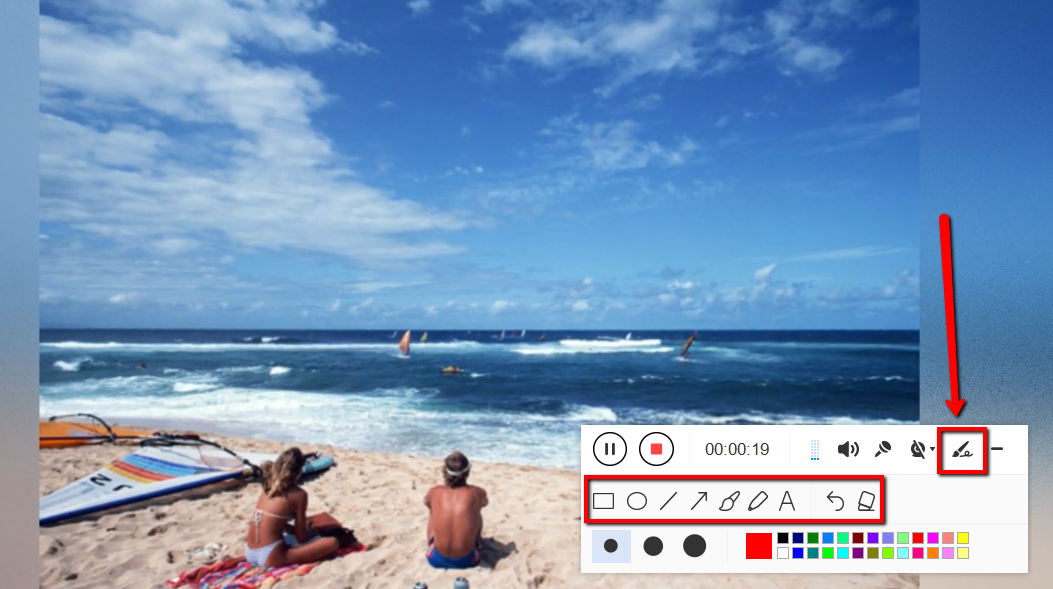
2.5 End the recording
Click the “Stop” button to stop recording.

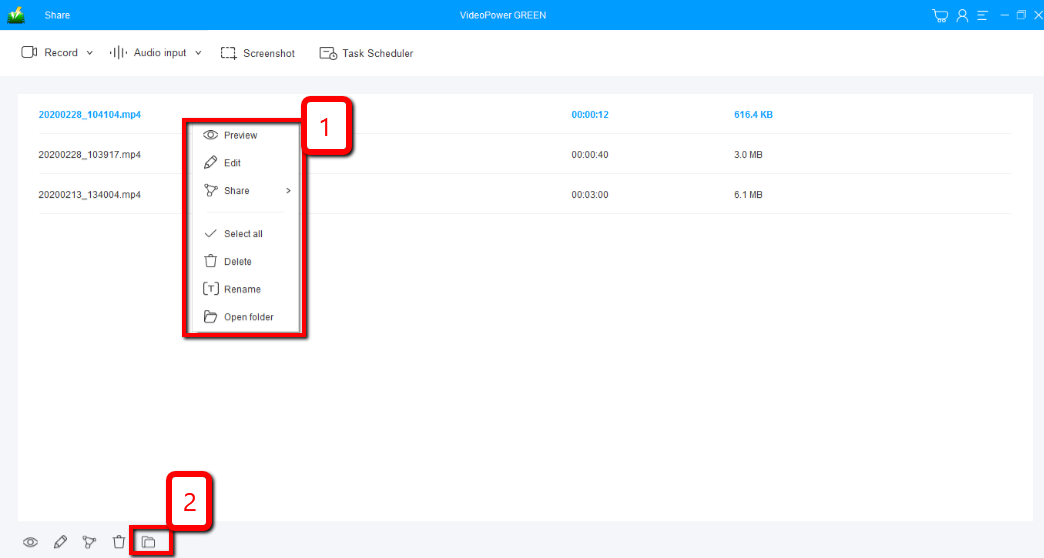
Step 3: Manage your recorded video
After that, the recorded file is already saved in the pointed output folder.
1) Your recorded file can be seen in the main interface. You can right-click the file and do more operations if you like.
2) Click the folder icon to view it in the pointed output folder.
Conclusion:
This software records your screen in great quality and what’s great about VideoPower GREEN is its video editor. From recording your screen to editing needs, its all in the same software and could save you lots of time.
The video editor lets you apply watermarks, effects, and other basic video editing options such as trimming or cropping. Adjust the speed, volume, contrast, brightness and saturation of a video.
Moreover, the video editing tool supports any video formats and also the conversion of video and audio formats.