Tips Index
1080p popularly referred to as Full HD or FHD (full high definition) gives you the best picture available, especially when viewing videos on TV. Its resolution is 1920 x 1080 pixels meaning that images are clearer. The higher the pixels, the sharper the image looks.
Many of today’s PC monitors and laptops as well as TVs, come in 1080p resolution. Many of the available recording options in 1080p include that you can create a tutorial, customer support, product demo, or even training videos on your computer in 1080p, which can afterward be shown on the big screen of your HD TV.
If you are looking for a reliable 1080p video screen recorder software to record your screen, this software is what you have been waiting for.
VideoPower GREEN is a lightweight screen recorder software and some users also like to use the tool for video streaming, for capturing video calls, with the tool users also are able to grab music from different websites, as it is able to record the screen and record audio at the same time.
If you are a screen recorder enthusiast, you will definitely enjoy VideoPower GREEN’s intuitive tools along with its user-friendly interface and easy-to-use built-in editor that is very helpful customizing video content. It supports an editor tool, filters, special video effects, etc.
With VidepPower GREEN, you can save videos with this amazing and reliable 1080p screen recorder. Try to use the software for free by downloading its trial version below.
Step 1: Set Output Format
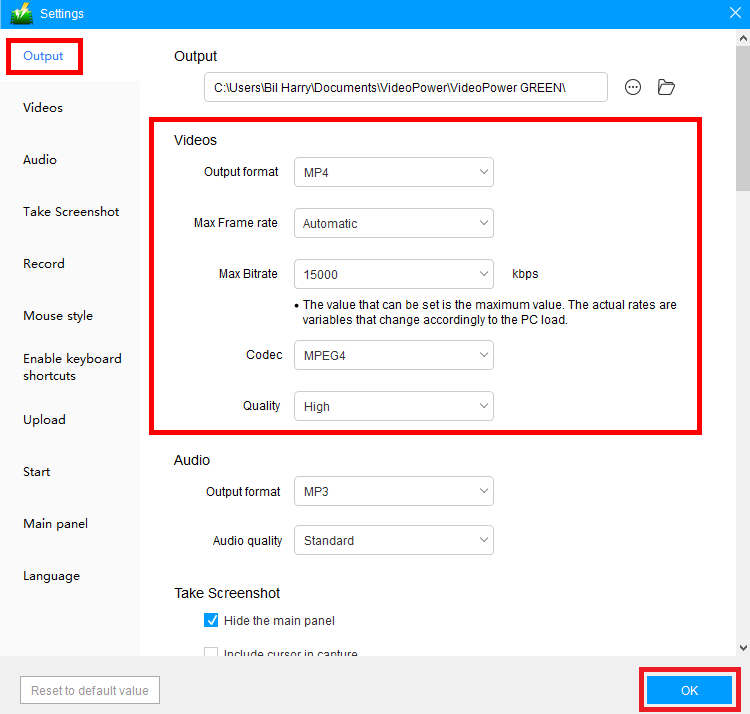
To successfully record a high-quality video like 1080p, the following output setting is recommended.
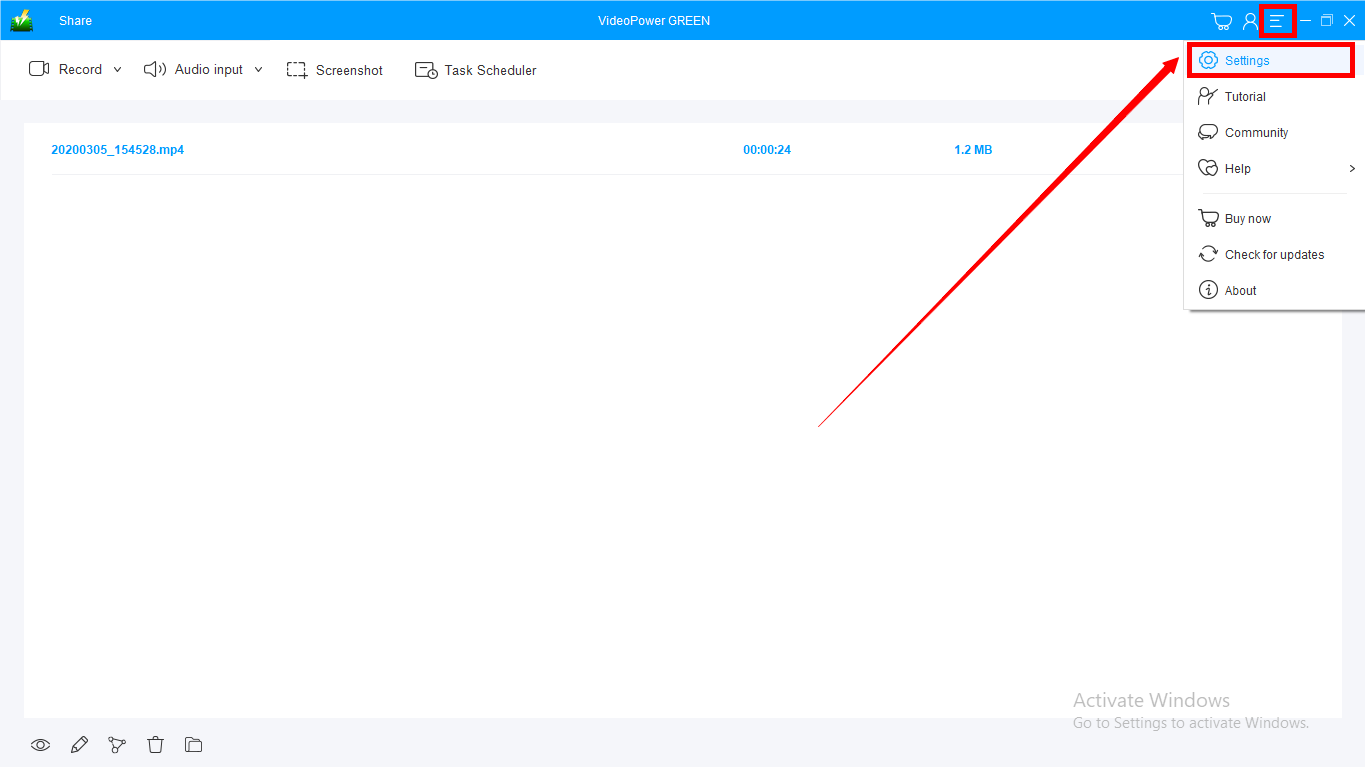
1) Click “Settings” to adjust output formats.
2) Click “Output” to modify the video output setting. The following set-up is recommended to ensure a great 1080p video recording. Click “Ok” when all is set and done to save the changes made.
Step 2: Set Sound Source
If audio is needed in recording, choose the desired sound source.
You can choose:
1) System sound
2) Microphone
3) System sound and microphone
4) None
Note: To record streaming video, you can select “System sound”.

Step 3: Set Recording Mode
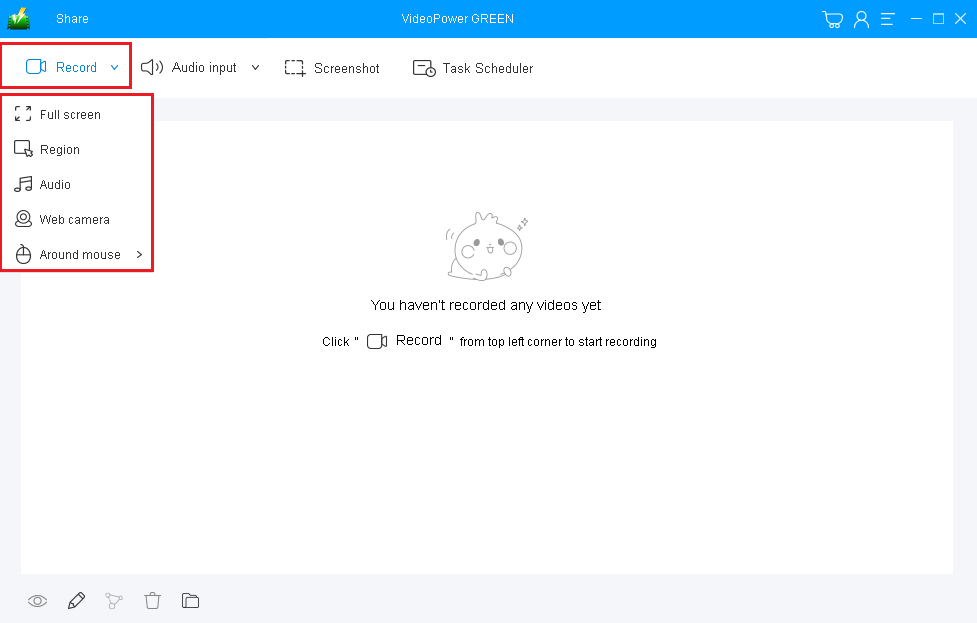
Click on the “Record” button to choose the recording mode.
1) Fullscreen
2) Region
3) Audio
4) Web camera
5) Around mouse (select the area you are going to record)
Step 4: Start Recording
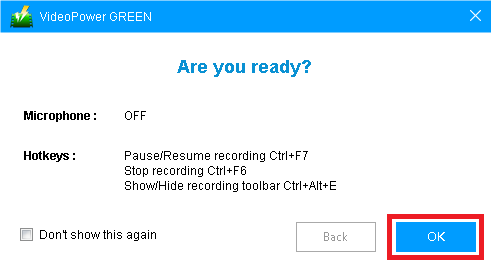
If you are ready to record the screen, then click “Record”. A pop-up window will show to confirm whether to start the recording or not. Click “OK” to start the recording.
Step 5: Annotate Recording
While recording, adding lines, arrows, shapes, texts, highlight, blur, etc. is possible. Just click the edit button to show the editing toolbox.
It is also possible to turn on the webcam while recording. If you don’t want this menu to appear in your recording, don’t worry because you can do that easily as well.

Step 6: End Recording
Click the “Stop” button to stop recording.

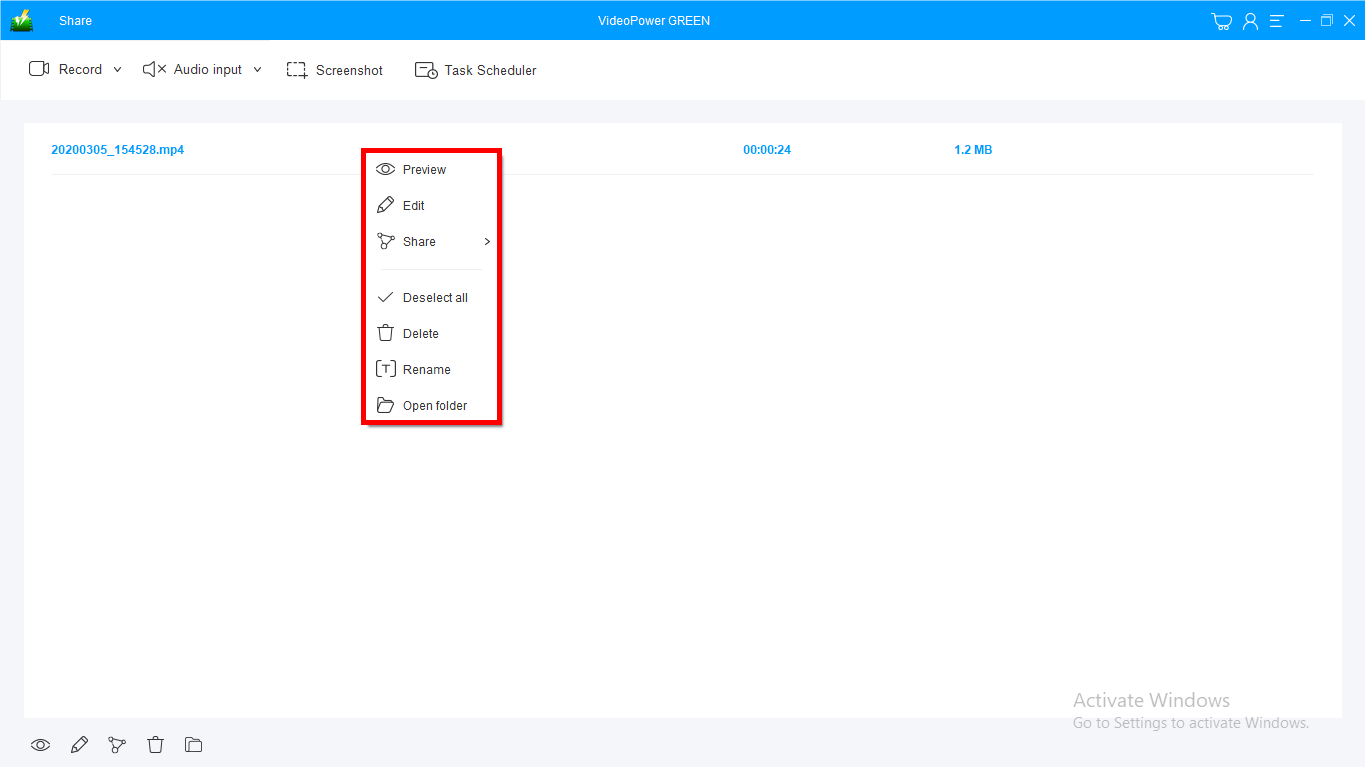
Step 7: Recorded File List
After recording, the screen will automatically redirect to the recorded file list on the main interface window. Right-click the file and do more operations if necessary.
Double click the file to play or view it.
Other Optional Record-Setting
If you wish to adjust more settings before recording, then follow these steps.
1) Go to Settings to set-up necessary changes.
2) Click “Record” to modify settings for screen recording purposes. If done, click “Ok” to save changes and you’ll be back in the main interface.

Conclusion:
VideoPower GREEN gives you the chance to select options such as whether or not to include the cursor in the recording and take your pick from a range of output formats including MP4, WMV, AVI, MOV and many more.
This software is perfectly suitable as a 1080p Video Screen Recorder with reliable feedback and reviews.