Tips Index
With the development of mobile phones comes the rapid evolution of phone cameras for taking photos and recording videos. Why should you bring a big bulky camera when you can bring your phone that can do almost the same thing? With the easy hand-held device comes the disadvantages, of course. One example is the volume of recorded videos is too low to be heard clearly. Some videos from the web have the same volume issue. What would you do to solve it?
You can use a video player where you can increase the sound to a higher level but it’s just a slight difference. However, another more thorough and effective way is to use a video editor to post-process the video and increase the volume of the video.
VideoPower BLUE is a highly recommended way to increase mp4 volume without losing the video quality. This video editing software provides you with basic video editing tools, which is best for beginners. And you can customize your video with various effects, including filters, transitions, elements and music in the background.
Download this Video Editor with the link below and follow the simple guide to adjust the volume of your videos.
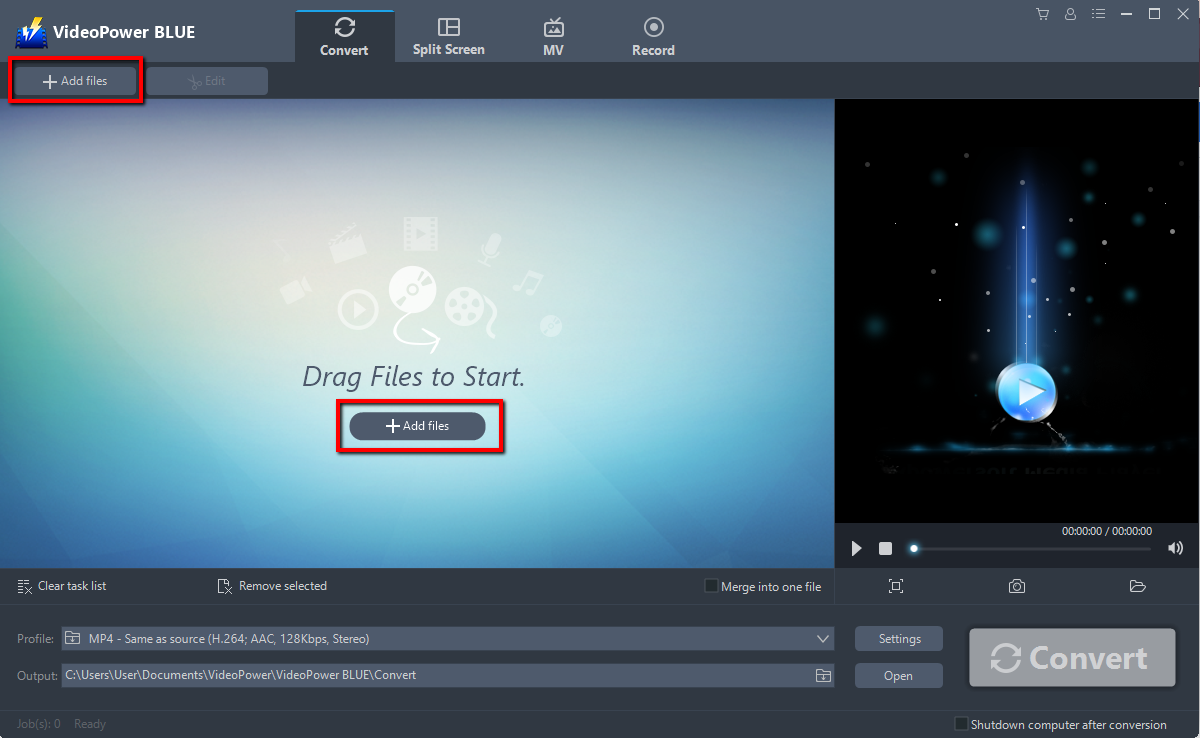
Step 1: Add the video file to VideoPower BLUE
Launch VideoPower BLUE and go to the “Add files” button to upload your video file to the program.
Step 2: Adjust Volume
If you need to edit the video file before conversion, follow the instructions below.
2.1 Edit the video
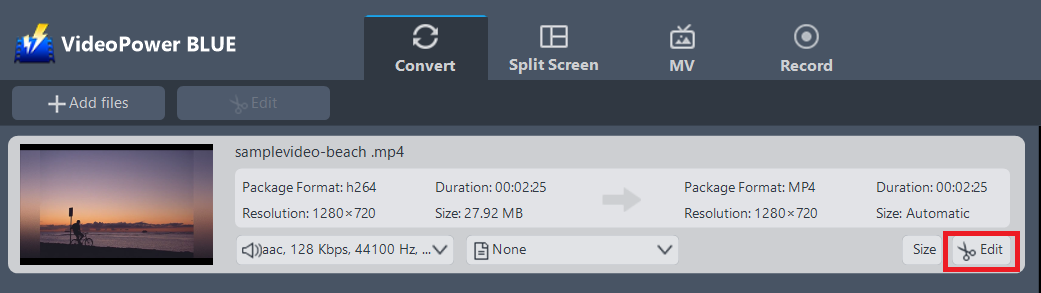
The imported file is displayed in the list.
Click the “Edit” button at the right side of the added video to enter the built-in video editor.
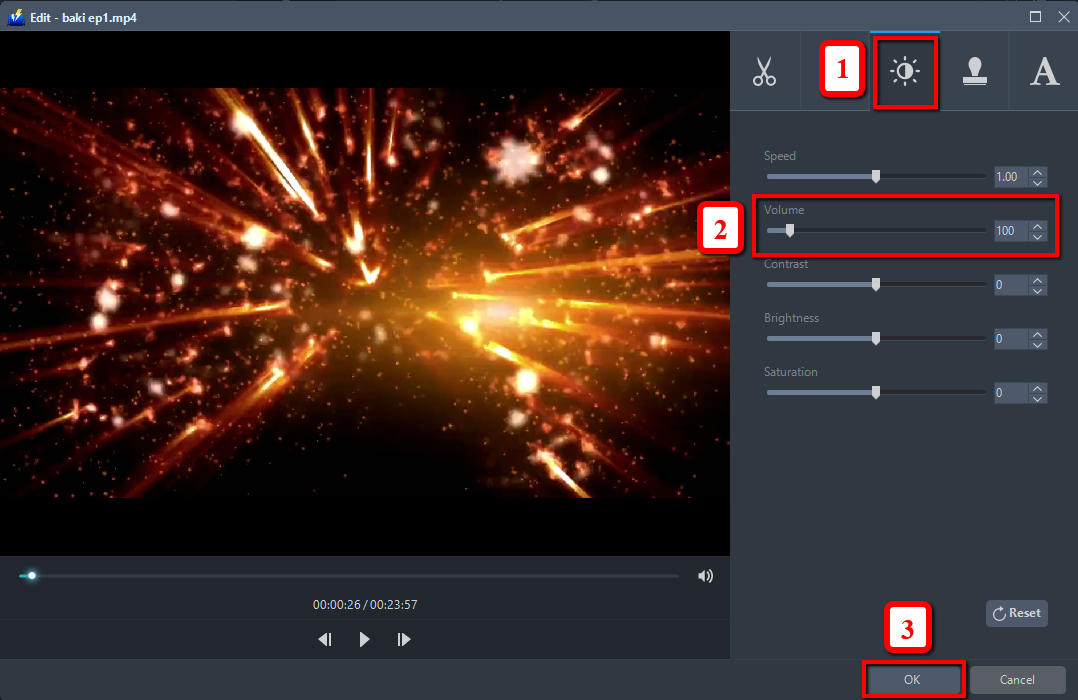
2.2 Adjust Volume
You can do the following steps to adjust the volume of your video:
1) Open the “Effect” tab on the editing window.
2) Adjust the volume with the “Volume” scroll bar or up-and-download button.
3) Click “OK” to save.
Note: If you wish to proceed on saving the file right away, proceed to Step 3 directly. If after adjusting the volume you wish to do more editing, then follow through this guide.
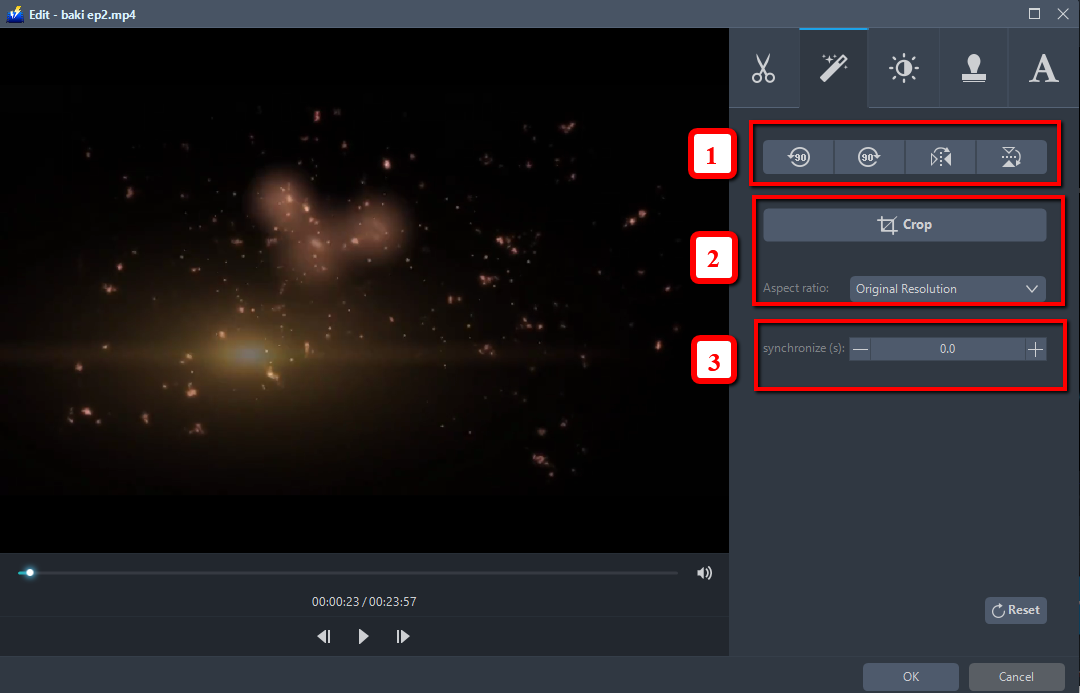
2.3 Adjustments
You can do the following steps to do more adjustments to your video:
1) Rotate your video position.
2) Crop video screen size.
3) Synchronize the video and audio.
2.4 Effects
You can do the following steps to change some effects on your video:
1) Speed – Speed up, slow down, the tempo of your video.
2) Volume – Set sound level.
3) Contrast – Change or adjust the difference in lightness, brightness and/or hue.
4) Brightness – Where you can adjust how lightness or darkness you want your video.
5) Saturation – Adjust the intensity of color in an image.

2.5 Watermark
Add a watermark on the video.
1) Click the Watermark icon.
2) Add text, logo or image as a watermark.

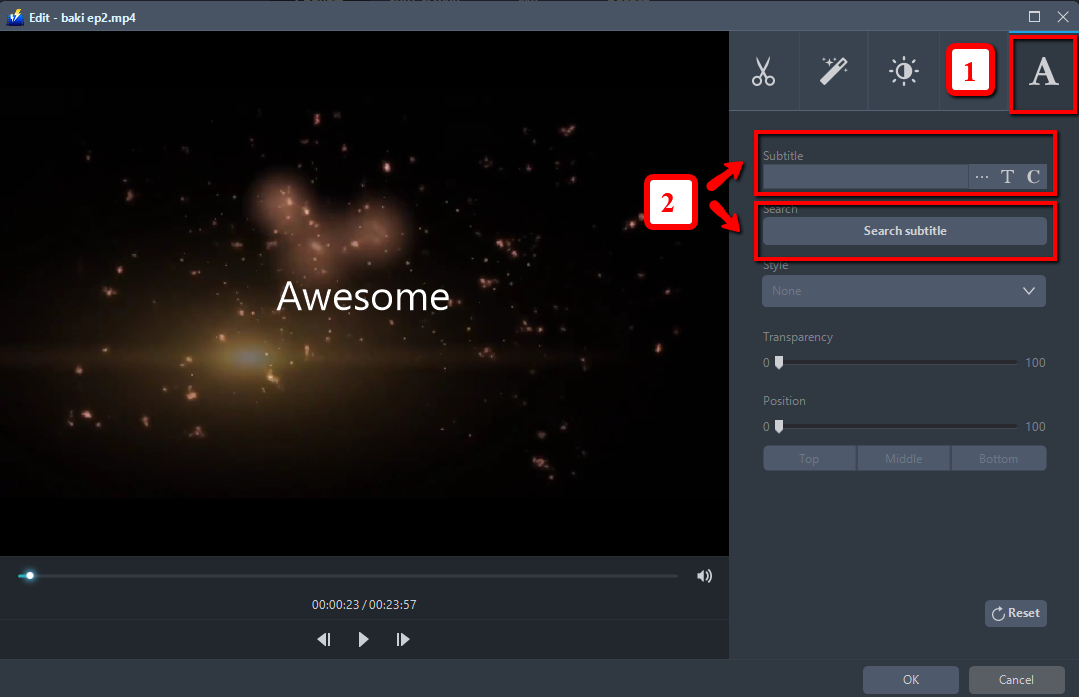
2.6 Subtitle
Add subtitles for the video. You can import external subtitles, or search subtitles for the corresponding subtitles from the Internet.
1) Click the Subtitle icon.
2) You can either click a subtitle saved on your computer or find it online.
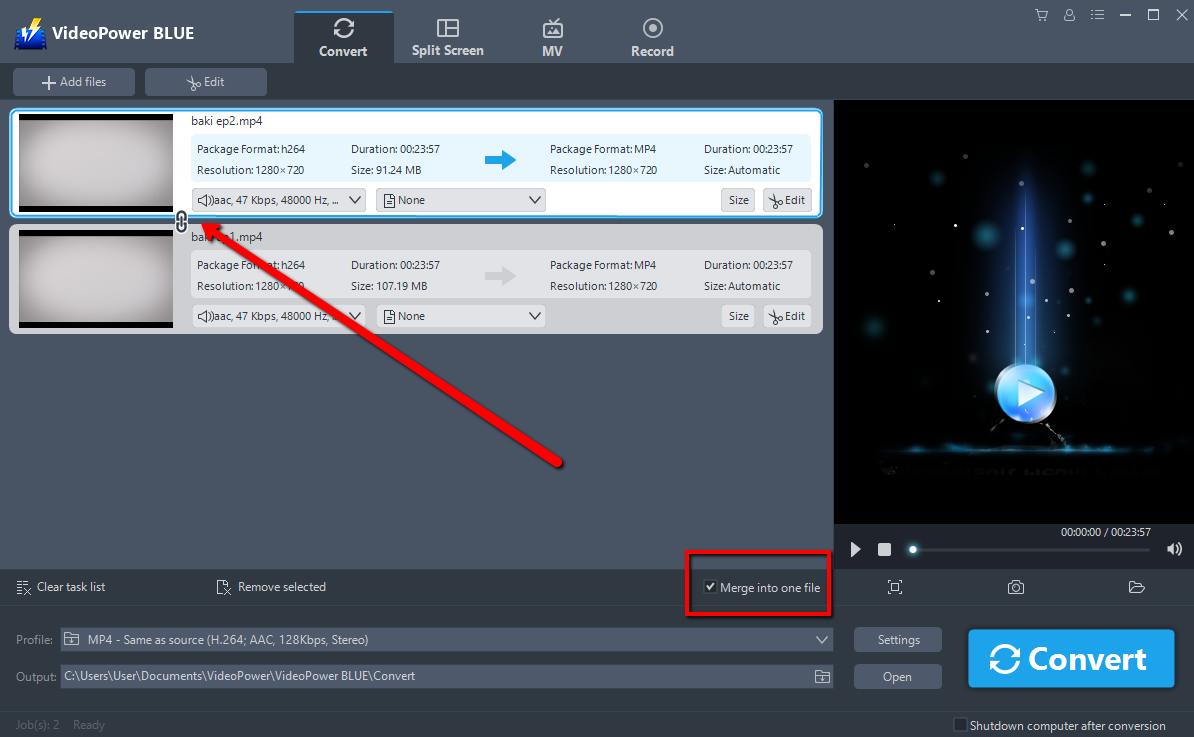
2.7 Merge
You can combine multiple video clips and save as one long video.
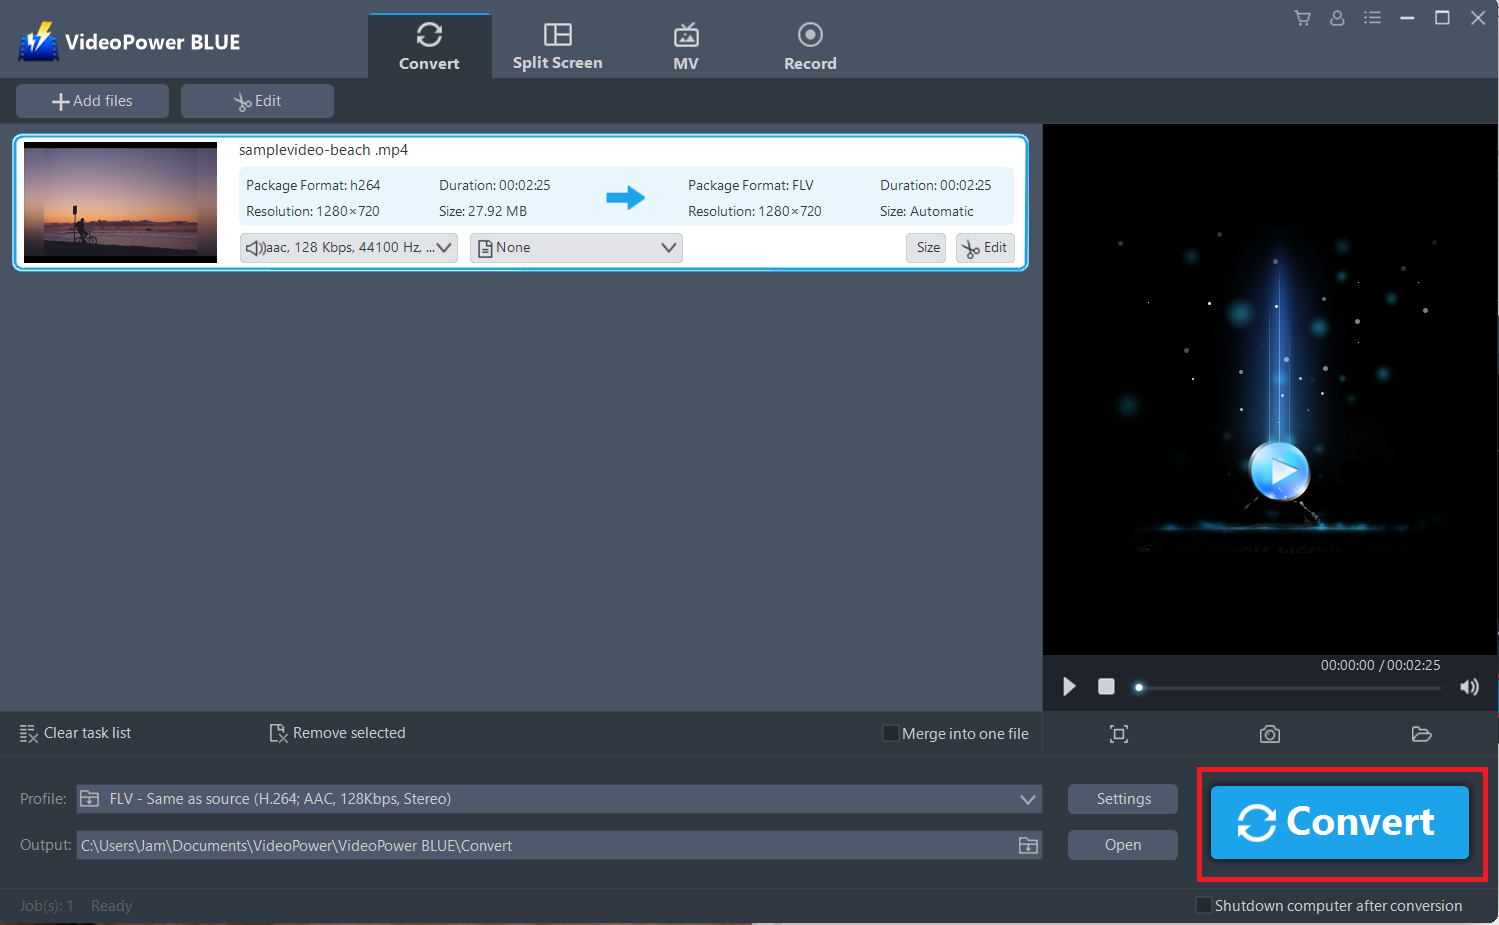
Step 3: Save the edited video
The software will return to the main interface after you save the editing. Click the big blue “Convert” button at the bottom right of the screen to save the edited video in MP4 format by default.
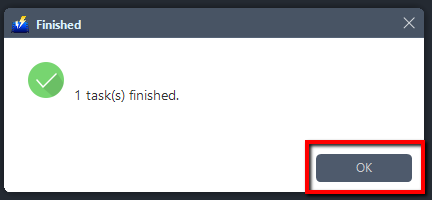
The program will pop up a window to inform you once the conversion is complete. Click “OK” to open the folder of your saved converted files.
Note: The edited video will be saved as a new file, and the original file still exists without any changes.
Conclusion:
VideoPower BLUE is quite simple to use with an easy-to-understand interface. It is great in adjusting the volume of videos. After adjusting or editing things out, you may convert it to any file format that you’d like without the fear of having it in a half quality. One of its most highlighted features is it supports nearly all types of video/audio files to be converted here. Batch conversion, basic video editing, and quality modification are available on it.