Tips Index
Brief Introduction of MP3
MP3 is short for MPEG Audio Layer 3. MPEG deals with both audio and video and how they are compressed or manipulated in order to obtain a desirable balance between size and quality while MP3 deals only with audio, specifically, lossy audio files that became very popular at the beginning of portable music players which were commonly referred to as MP3 players.
Thanks to the small size and high quality of MP3, this format has become a synonym for online music.
Advantage of MP3
They are incredibly popular with users because the audio files are compressed to about one-tenth of the original size. For this reason, MP3 file take up very little disk space and are quick to download. Don’t worry because this file format could deliver audio that is almost CD quality.
Solution for MP3 format conversion
Below is the step-by-step guide on how to convert video/audio files to MP3 format.
VideoPower BLUE , a powerful converter that supports any video formats with video editing function, enables adding subtitles, apply watermarks, make MV and split-screen videos. More importantly, it can record screen activity in many different ways, offline and online.
Due to its wide array of formats to choose from, VideoPower BLUE is the best converter out there.
You can try to use the software for free by downloading its trial version below.
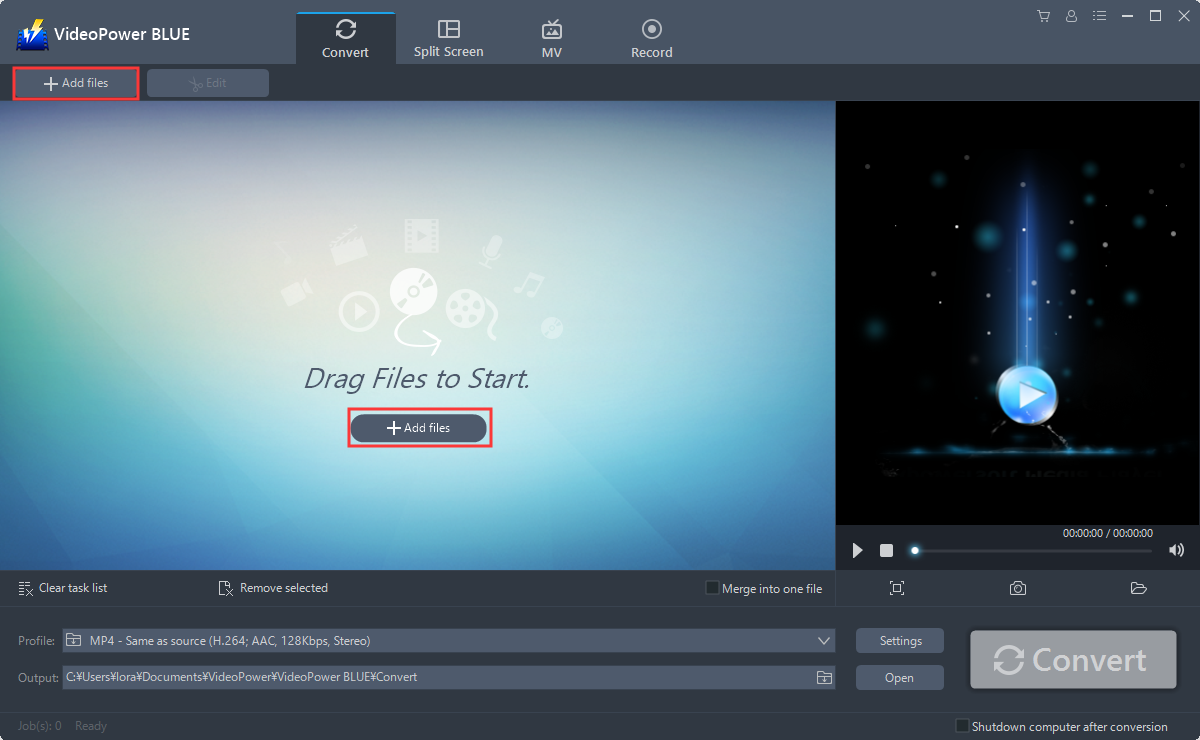
Step 1: Add the file to VideoPower BLUE
You can directly import the file to the program by clicking the “Add files” button or by drag-and-drop the file to the interface.
Step 2: Edit file before conversion
This step is optional. If users opt not to edit their file before conversion, then they may skip this step.
2.1 Edit the audio
If you need to trim your audio, you can use the edit function provided by the software. Do the following steps to edit your audio file.
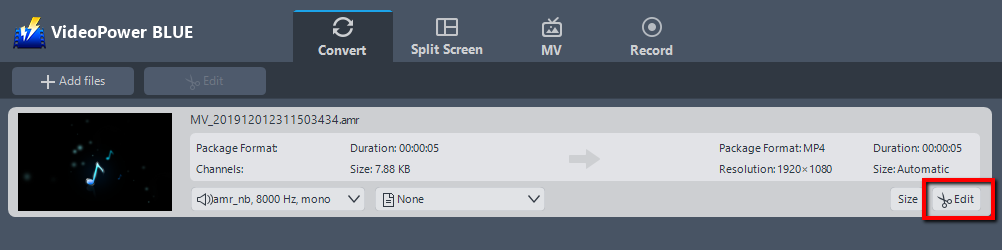
The imported file is displayed in the list.
Click the “Edit” button on the right side of the file.
2.2 Trim Audio
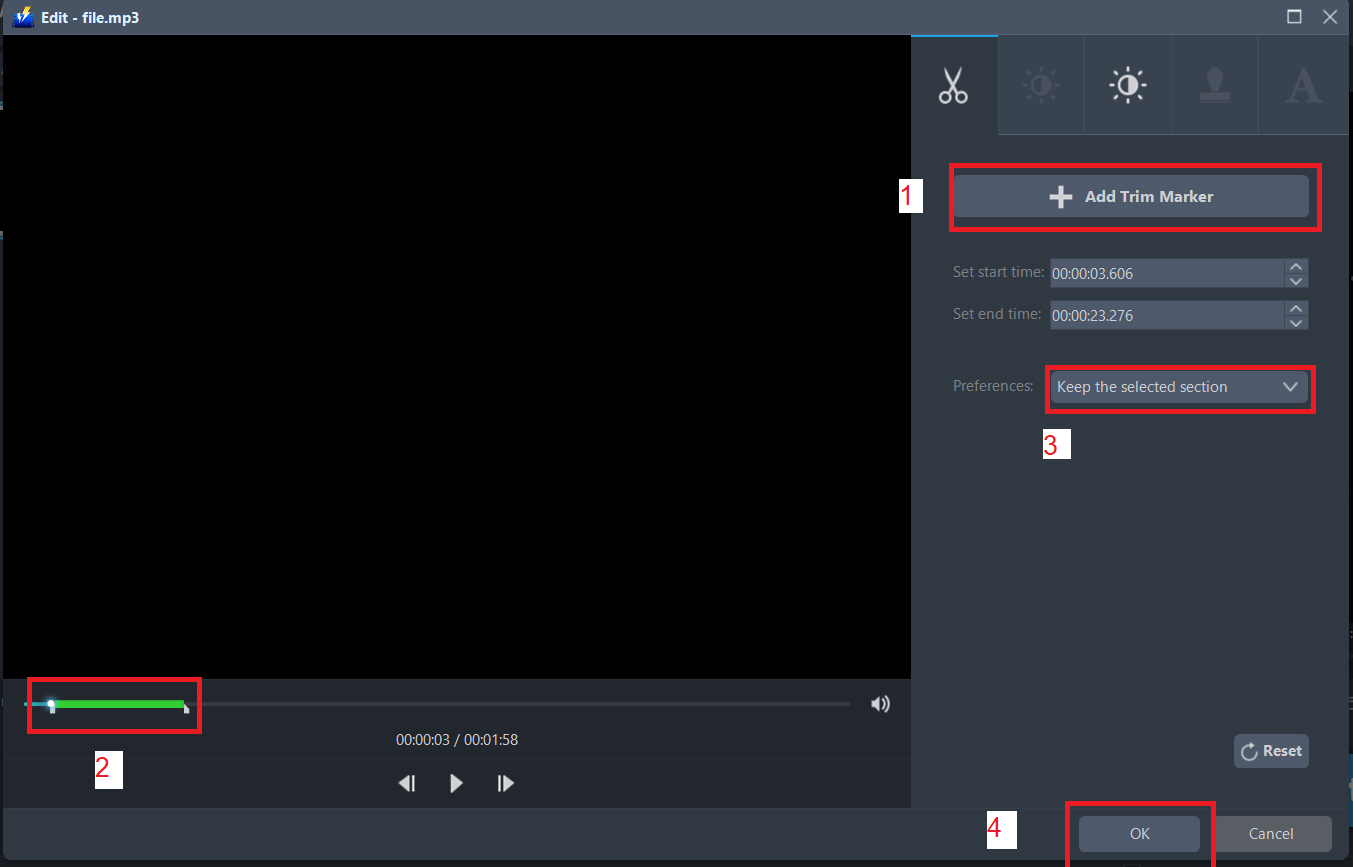
The built-in audio editor will pop up. Adjust speed and volume, or add a trim.
For example, you can trim your audio as shown below:
1) Click “Add Trim Marker”.
2) Drag the mark as shown below to select the part you want to cut. If you want to select multi-sections, please repeat 1 and 2.
3) Choose “Keep the selected section” or “Delete the selected section” from “Preferences”.
4) Click “OK” to save the setting.
Step 3: Convert audio file to MP3 format
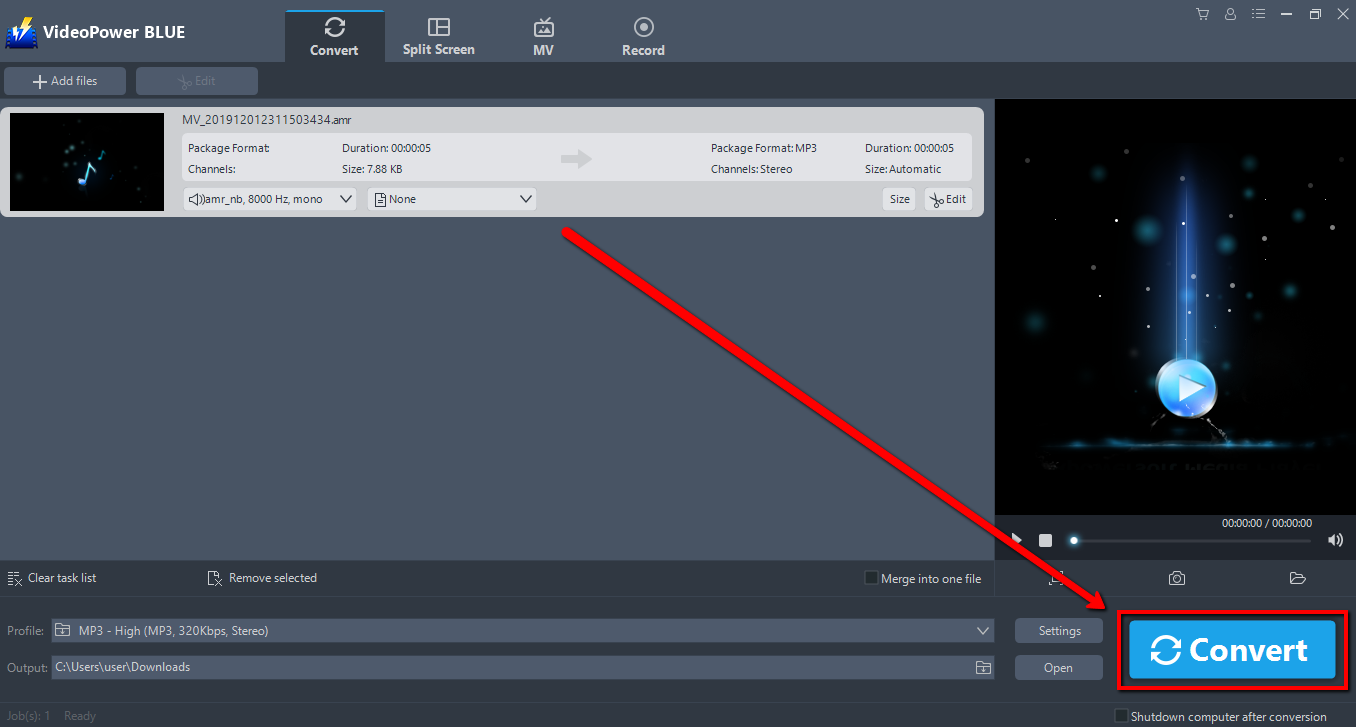
3.1 Set the output format
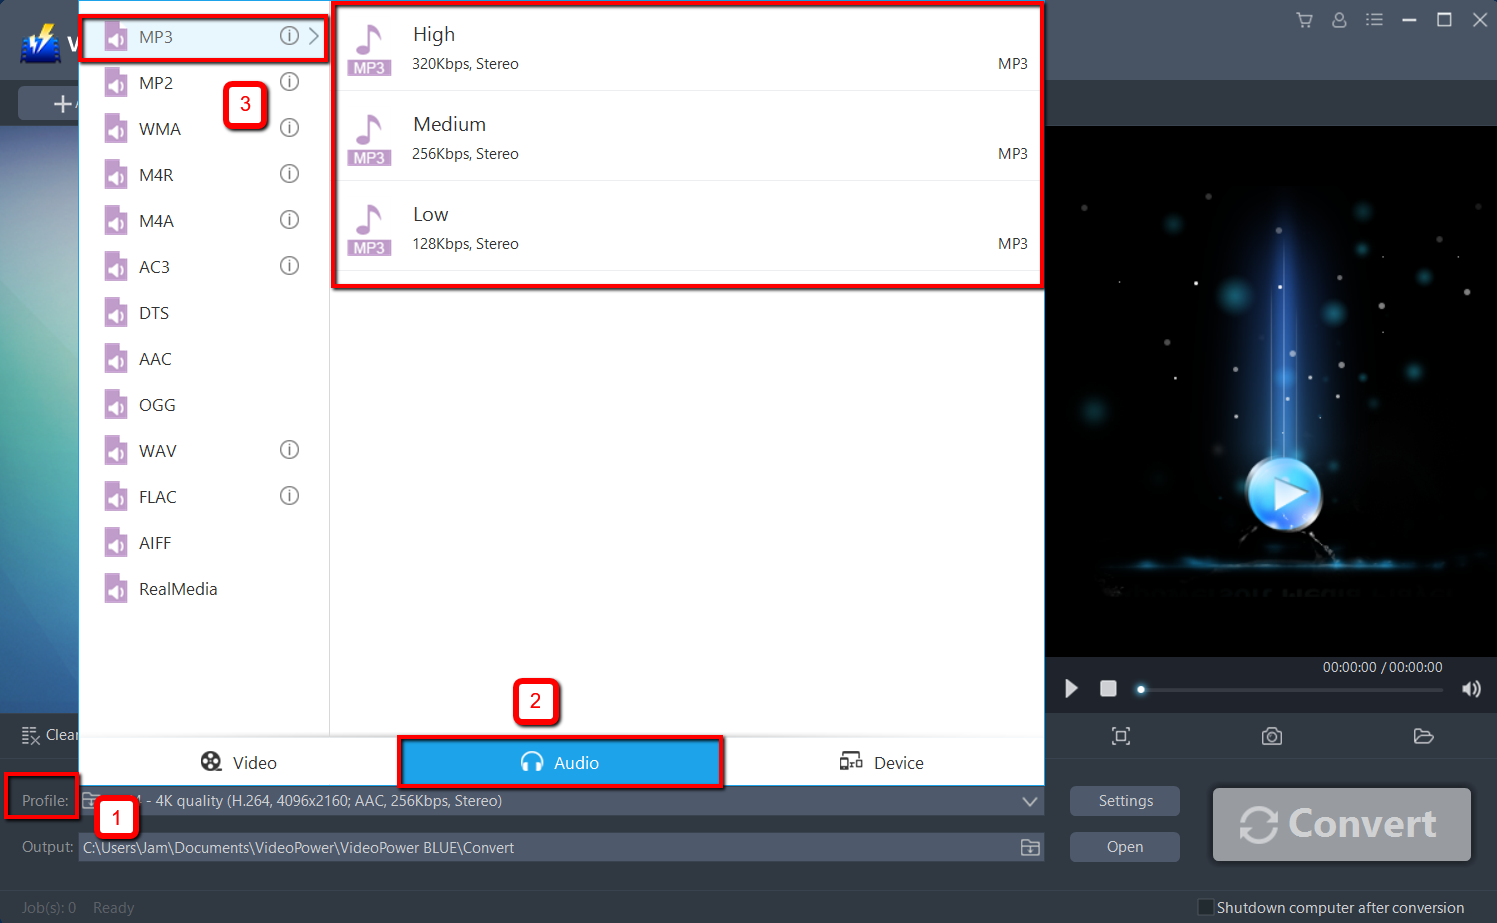
1. Click to open the “Profile” drop-down menu, then choose the format you want from the profile list.
2. Here you can click “Audio” and then “MP3”.
3. Choose the quality “High, Medium or Low” as per your need.
3.2 Start Conversion
Return to the file list.
Click the “Convert” button, then the converted MP3 file will be saved in the default output folder.
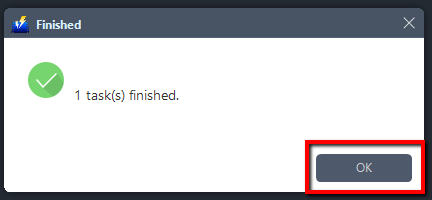
3.3 Find the Converted MP3 file
A pop-up window from the program will appear informing you that the conversion is complete.
Click “OK” to open the folder of your saved converted MP3 files.
Conclusion:
Converting files to MP3 is not a bad idea at all, especially if it’s a compatibility issue.
VideoPower BLUE is definitely perfect for you. It’s fast and flexible with a built-in video editor that will enable you to merge multiple videos into one single file. This software will allow you to edit slideshows or videos, apply watermarks, effects, and other basic video editing options such as trimming or cropping. Moreover, it has a split-screen tool for your photos and videos and a screen recorder which allows you to capture any on-screen activity on your computer.