Tips Index
Along with the developments in Windows, people feel that it became more difficult to complete some tasks like taking a screenshot on Windows 8 and sound recording.
If you are also experiencing a recording problem on your computer running Windows 8, read on as we discuss a solution.
This article will introduce VideoPower YELLOW, the most efficient Audio Recorder that is fully compatible with Windows 8.
You can try it by clicking the download button below for free.
Step 1: Set the sound source
Before recording audio, make sure to set the sound source you’ll be needing in the recording. Click the audio jack icon below and choose from the sound sources such as “System Sound”, “Microphone”, “System Sound and Microphone”.

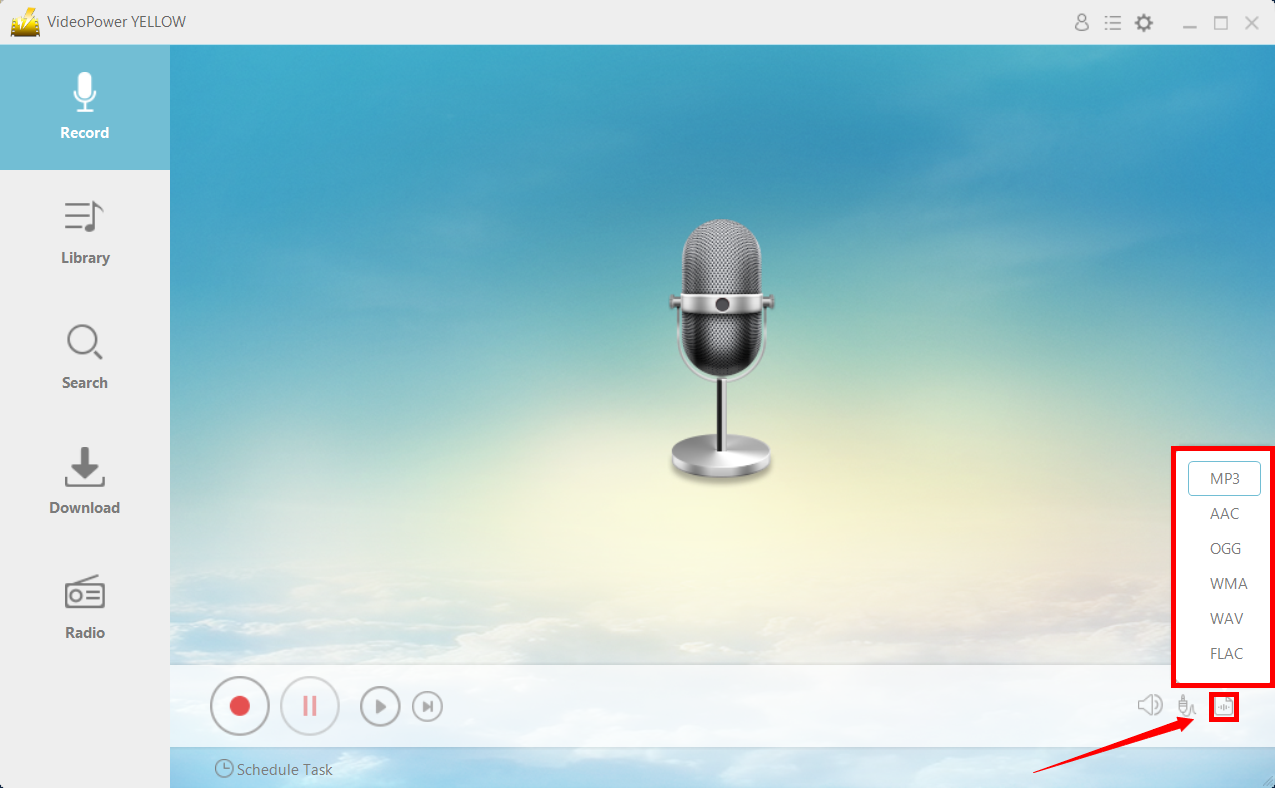
Step 2: Set the file format
Before recording, make sure to set the output format for your recorded file. Click the button behind the audio jack icon button that you can find bellow. Choose among MP3, AAC, OGG, WMA, WAV, and FLAC.
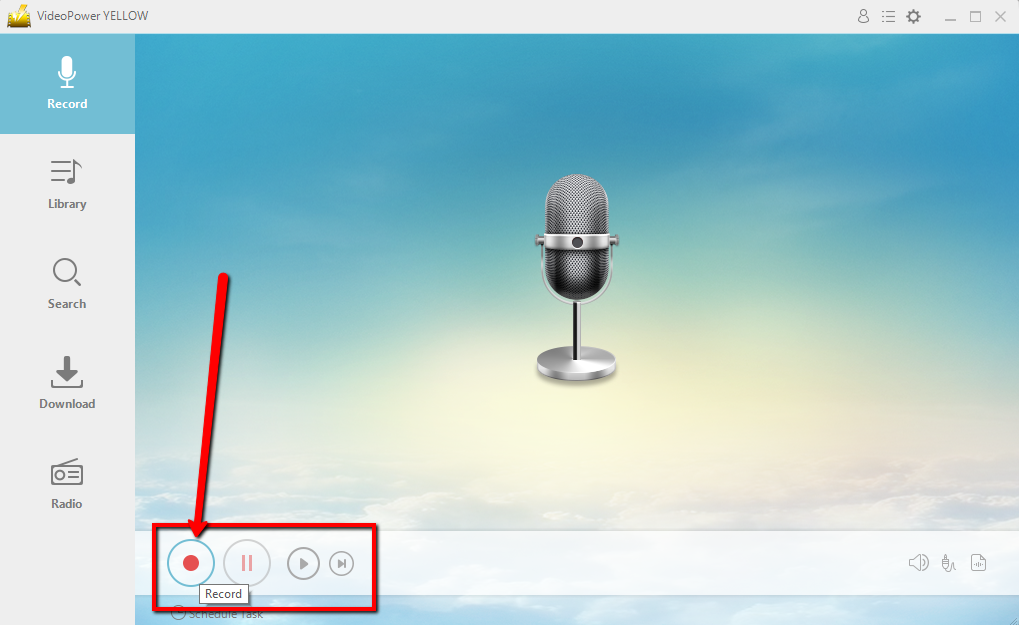
Step 3: Start Recording
Click the “Record” button to start recording and click the same button when you are done recording.
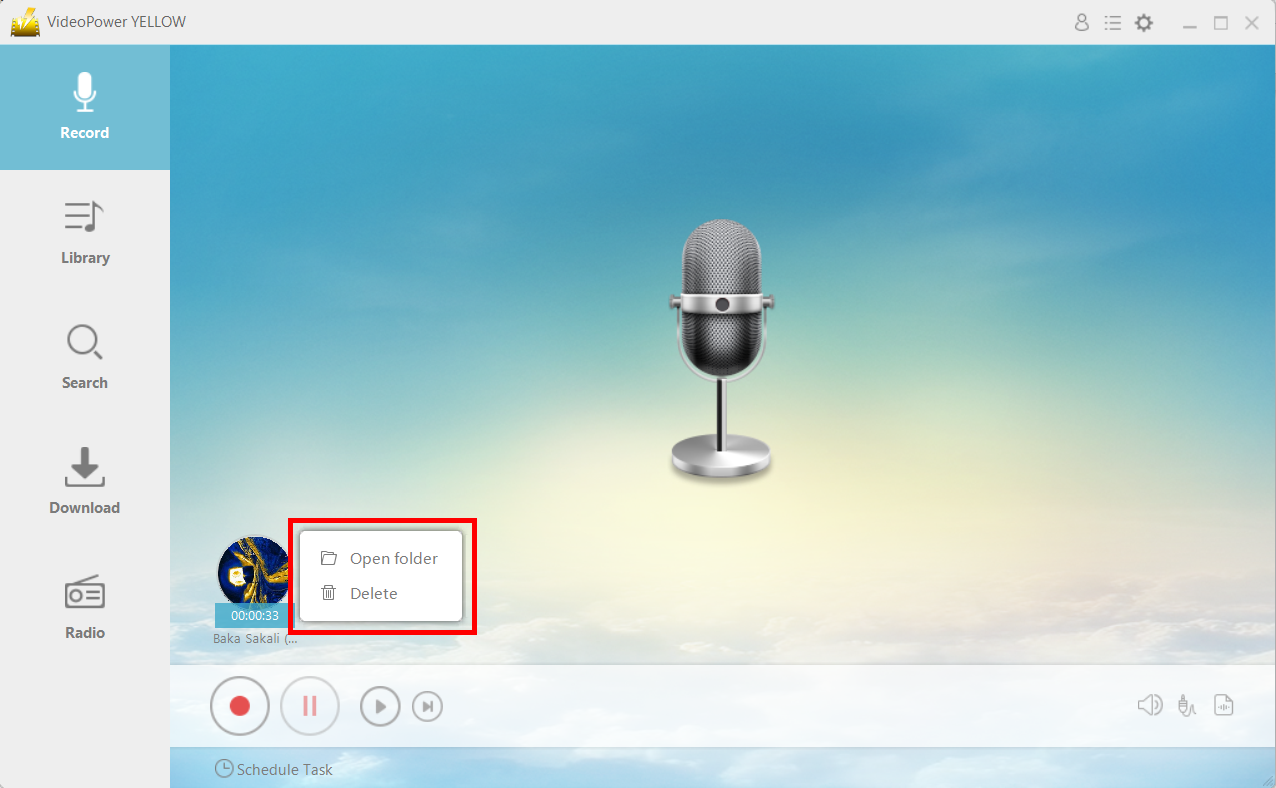
Step 4: Navigate to Output File Location
After recording, right-click the recorded track icon and click “Open folder” to open the storage location of the recorded audio file or click “Delete” if you want to delete the file and record again.
Conclusion:
Using VideoPower YELLOW is a great tool to use as a sound recorder for Windows 8. VideoPower YELLOW has great recording settings such as microphone recording, you can record the input from your external microphone or your computer’s microphone, system sound, you can record the sound activity on your computer, or you can record both.