Tips Index
Brief Introduction of WMV
WMV (Windows Media Video) is a general term for a series of video codec and related video encoding formats developed by Microsoft.
WMV includes three different codec technologies: as a competitor to RealVideo, the original WMV video compression technology originally designed for streaming applications on the Internet; WMV screen and WMV image compression technology to meet specific content needs, and WMV version 9 was adopted as the release format for physical media after SMPTE standardization such as HD DVD and Blu-ray Disc, the so-called VC-1.
Supported Players
Software capable of playing WMV files includes Windows Media Player, RealPlayer, MPlayer, Media Player Classic, VLC Media Player, and K-Multimedia Player. Third-party players on various other platforms (like Linux) use FFmpeg implementation in WMV format for playback.
Besides, Microsoft currently supports a third-part QuickTime component called Flip4Mac that allows Macintosh users to play WMV files with any player that conforms to the QuickTime framework.
Solution for WMV format conversion
Below is the step-by-step guide on how to convert video files to WMV format.
Download the VideoPower BLUE software first, a format converter that can convert video/audio to a different format.
VideoPower BLUE is a multifaceted tool that has a lot of functions. These functions include file format conversions, recording screen activity, basic video, and audio editing, etc. Due to its wide array of formats to choose from, it is the best free audio converter out there.
You can try to use the software for free by downloading its trial version below.
Step 1: Add the video File
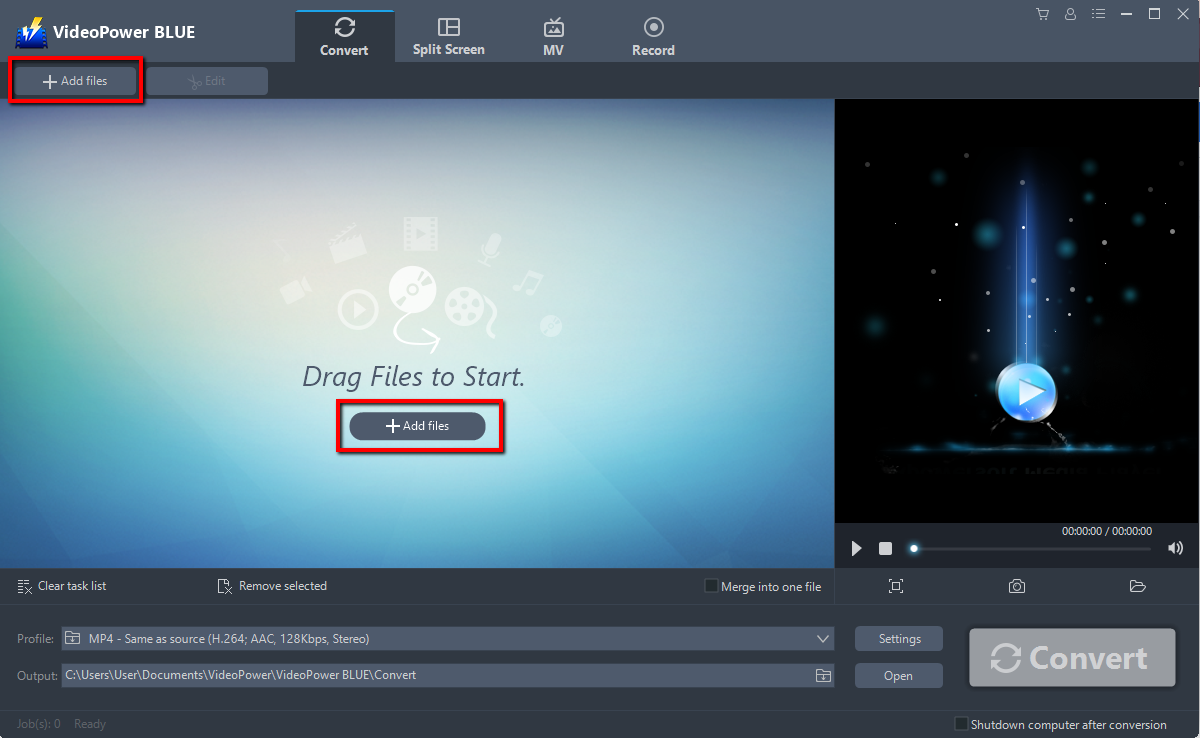
Run the program if you have installed VideoPower BLUE successfully on your PC. Import your video files into the program that you want to convert. Click the “Add files” button to select files from your PC, or directly drag-and-drop to the interface.
Step 2: Edit the video file
If you want to edit the file first before converting, just follow the instructions below.
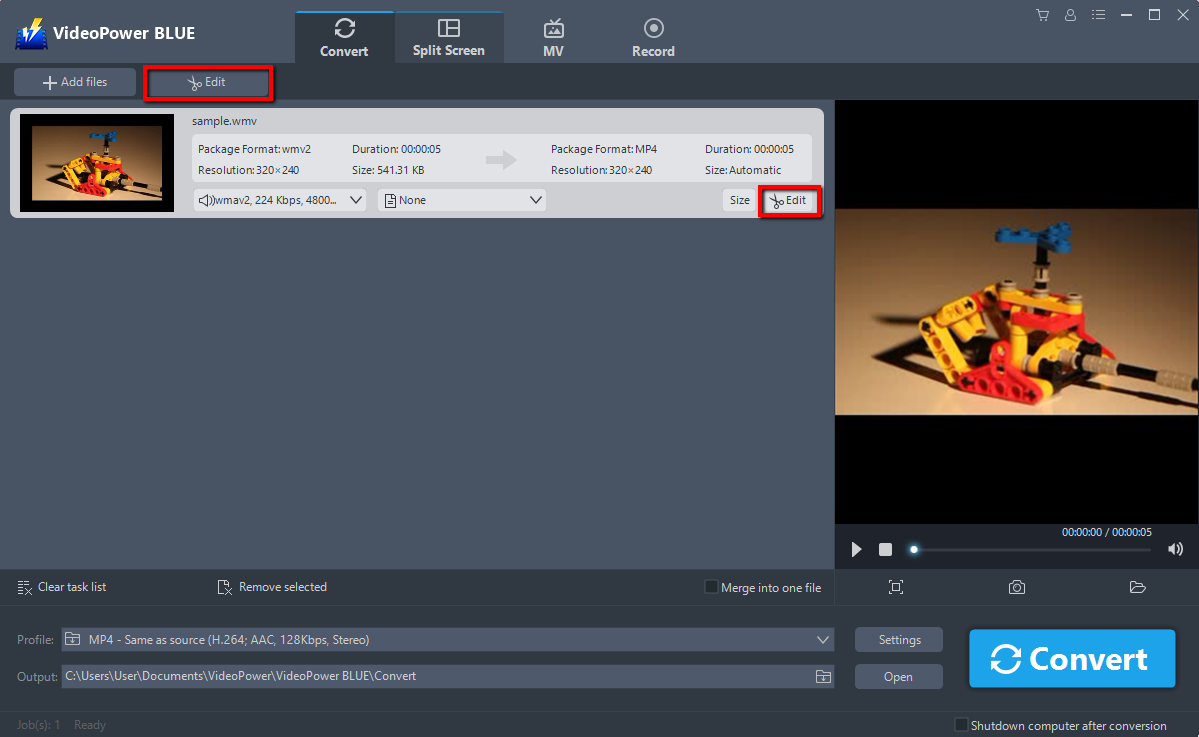
Click the “Edit” button at the right side of the added video file to enter the built-in edit window so you can design your video now.
Step 3: Convert video to WMV format
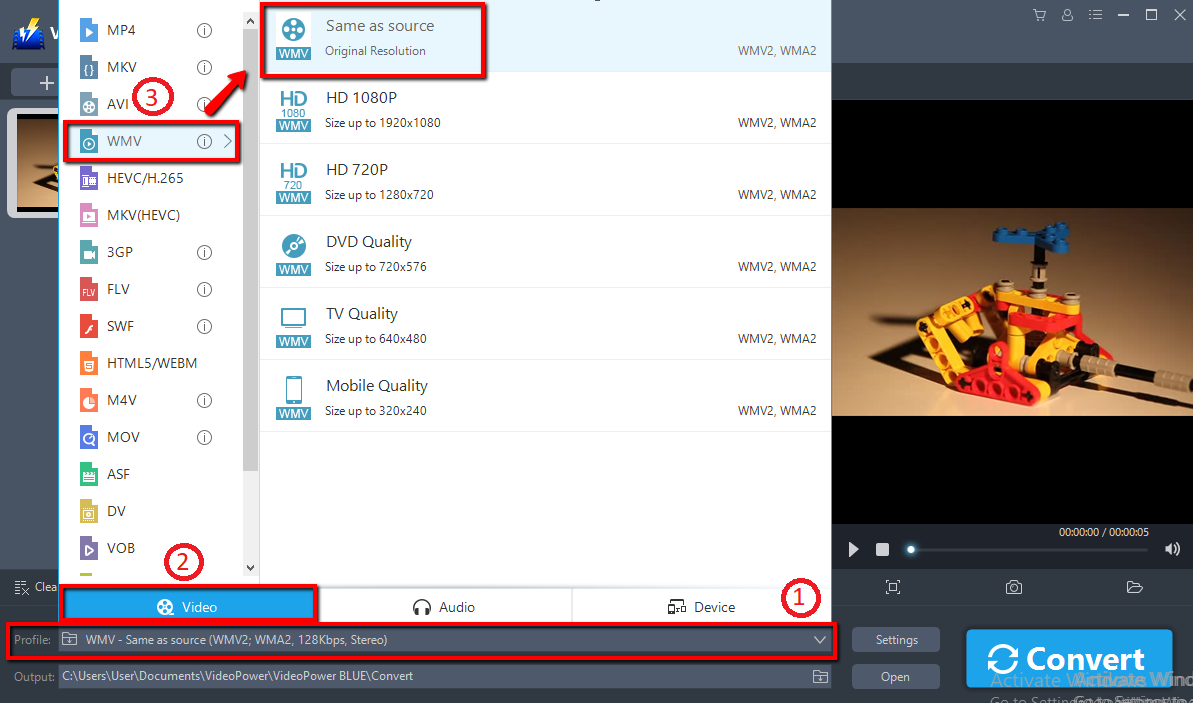
Before conversion, you should set the output format and folder first as the default output format is MP4.
1) Click to open the “Profile” drop-down menu, then choose the format you want from the profile list.
2) Here choose “Video”.
2) Select WMV and quality “Same as source” or other options like “HD”, “4K quality” as per your need.
You can also customize frame rate, bitrate, codec, etc. manually.
Just click the (1)“Settings” button to enter the (2)“Preset editor” window, then you can change the value and click (3)“OK” to save the settings.

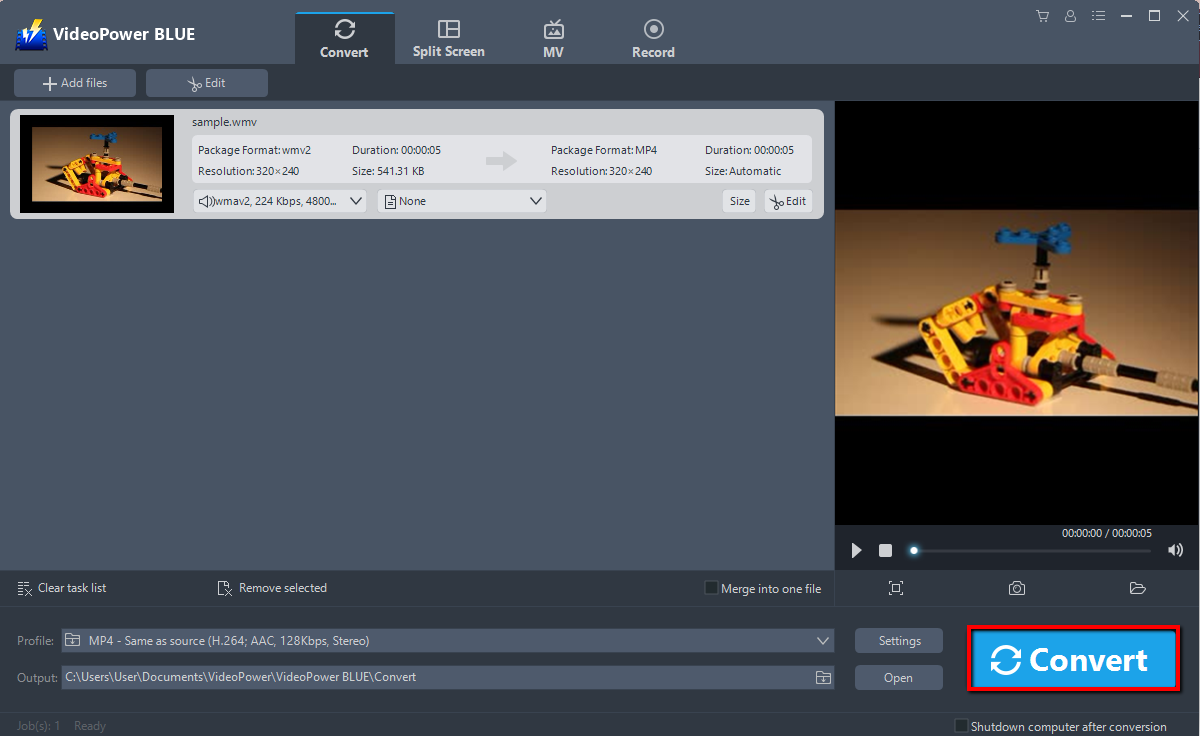
Choose a storage location to save the converted files. Click the “Output” icon and select the destination wherever you want to store the file.

After setting the output location, click the “Convert” button, then the software will start to convert and save the edited video in WMV format.
A pop-up window from the program will appear informing you that the conversion is complete. Click “OK” to open the folder of your saved converted WMV files.
Conclusion:
WMV works by allowing large files to be compressed or reduced in size for better support to use over the network while still protecting the quality during conversion. To do this you need a reliable converter.
VideoPower BLUE software can convert all video and audio files into common formats and devices easily. It’s handy and reliable that you can even convert in batches simultaneously while preserving good quality.
It has a built-in video editor that will enable you to edit slideshows or videos, apply watermarks, effects, and other basic video editing options such as trimming or cropping. Moreover, it has a split-screen tool for your photos and videos and a screen recorder which allows you to capture any on-screen activity on your computer. There’re so many advanced functions equipped in this program, which offer more options for you to convert and edit media files.