Tips Index
The emergence of new technology and devices also gave rise to the appearance of different kinds of audio formats.
The wide variety of formats to choose from also meant that there will be some confusion on which devices are compatible with which formats – therefore, audio conversion software was invented.
One of the best free audio converters out there is VideoPower BLUE.
VideoPower BLUE is a multifaceted tool that has a lot of functions. These functions include recording screen activity, basic video, and audio editing, and file conversions. Due to its wide array of formats to choose from, it is the best free audio converter out there.
Download and install the program on your PC with the below link to start the conversion.
You can try to use the software for free by downloading its trial version below.
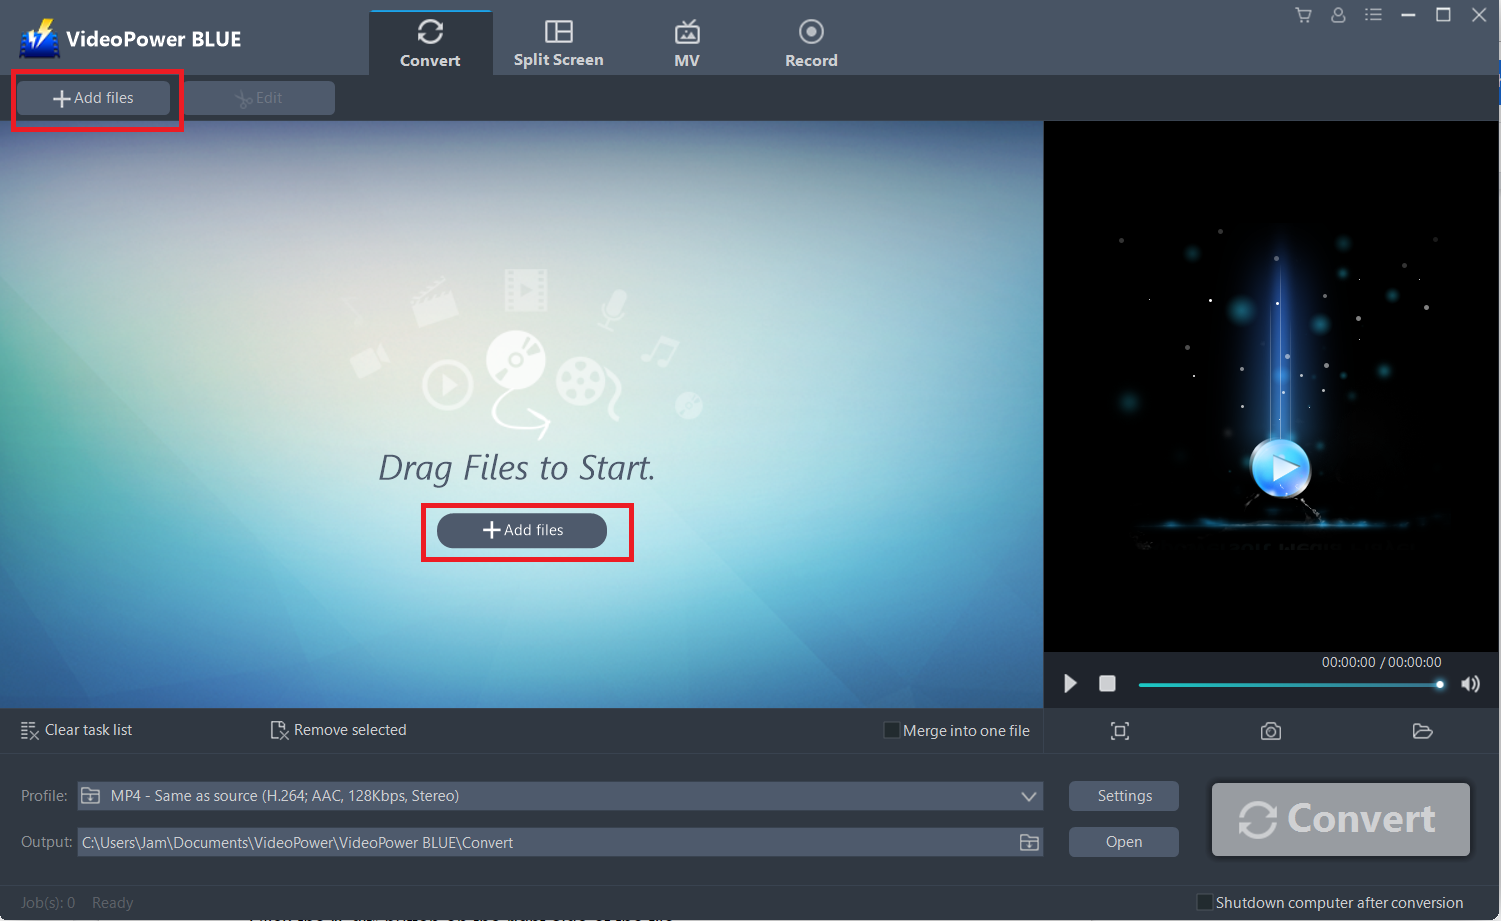
Step 1: Add the audio file to the program.
Run the program if you have installed the audio converter software – VideoPower BLUE, successfully on your PC. You can directly import the audio file to the program by clicking the “Add files” button or by drag-and-drop the file to the interface. In this example, an MP3 file was used.
Step 2: Edit the audio.
If you want to edit the audio file before conversion, just follow the instructions below.
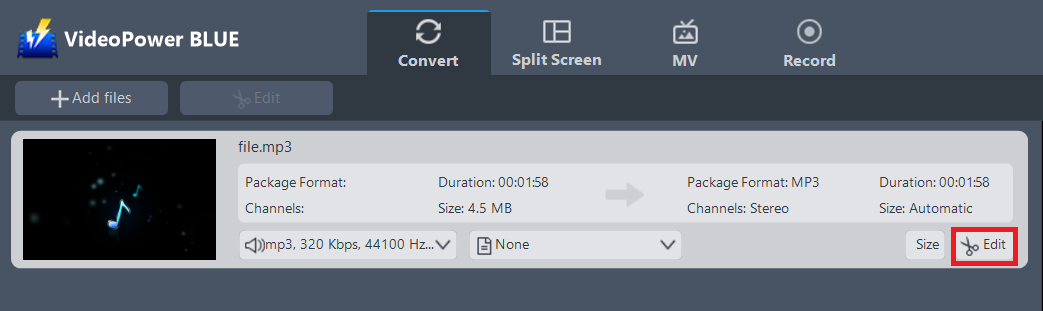
The imported MP3 file is displayed in the list.
Click the “Edit” button on the right side of the file.
The built-in video editor will pop up, with its help, you can make the perfect movie. Adjust speed and volume, trim, cut, crop, rotate or flip videos. Add effects, subtitles, and watermark while adjusting brightness, contrast and saturation that will make editing conveniently easier.
For example, you can trim your video as shown below:
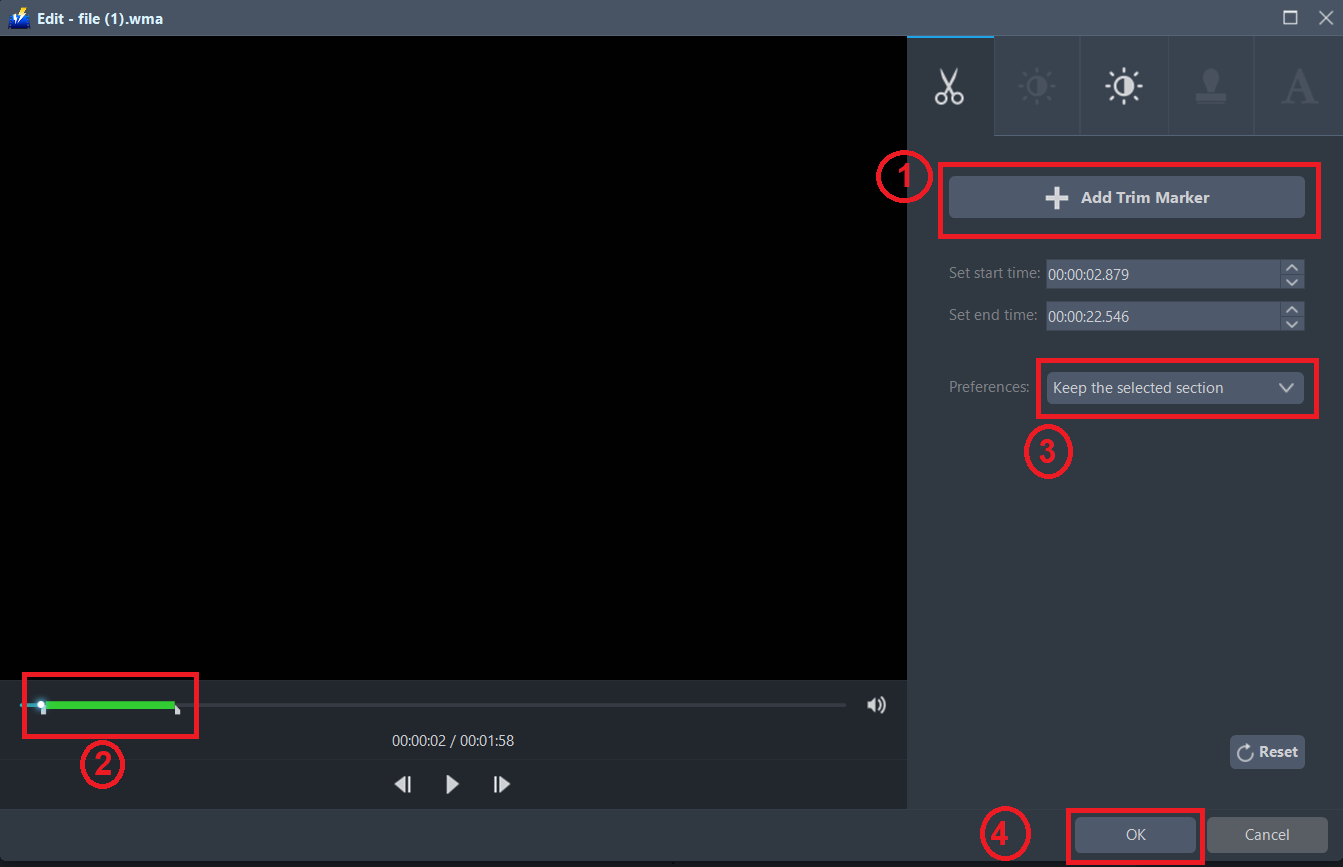
1) Click “Add Trim Marker”.
2) Drag the mark as shown below to select the part you want to cut. If you want to select multi-sections, please repeat 1 and 2.
3) Choose “Keep the selected section” or “Delete the selected section” from “Preferences”.
4) Click “OK” to save the setting.
Step 3: Convert MP3 to WMA format.
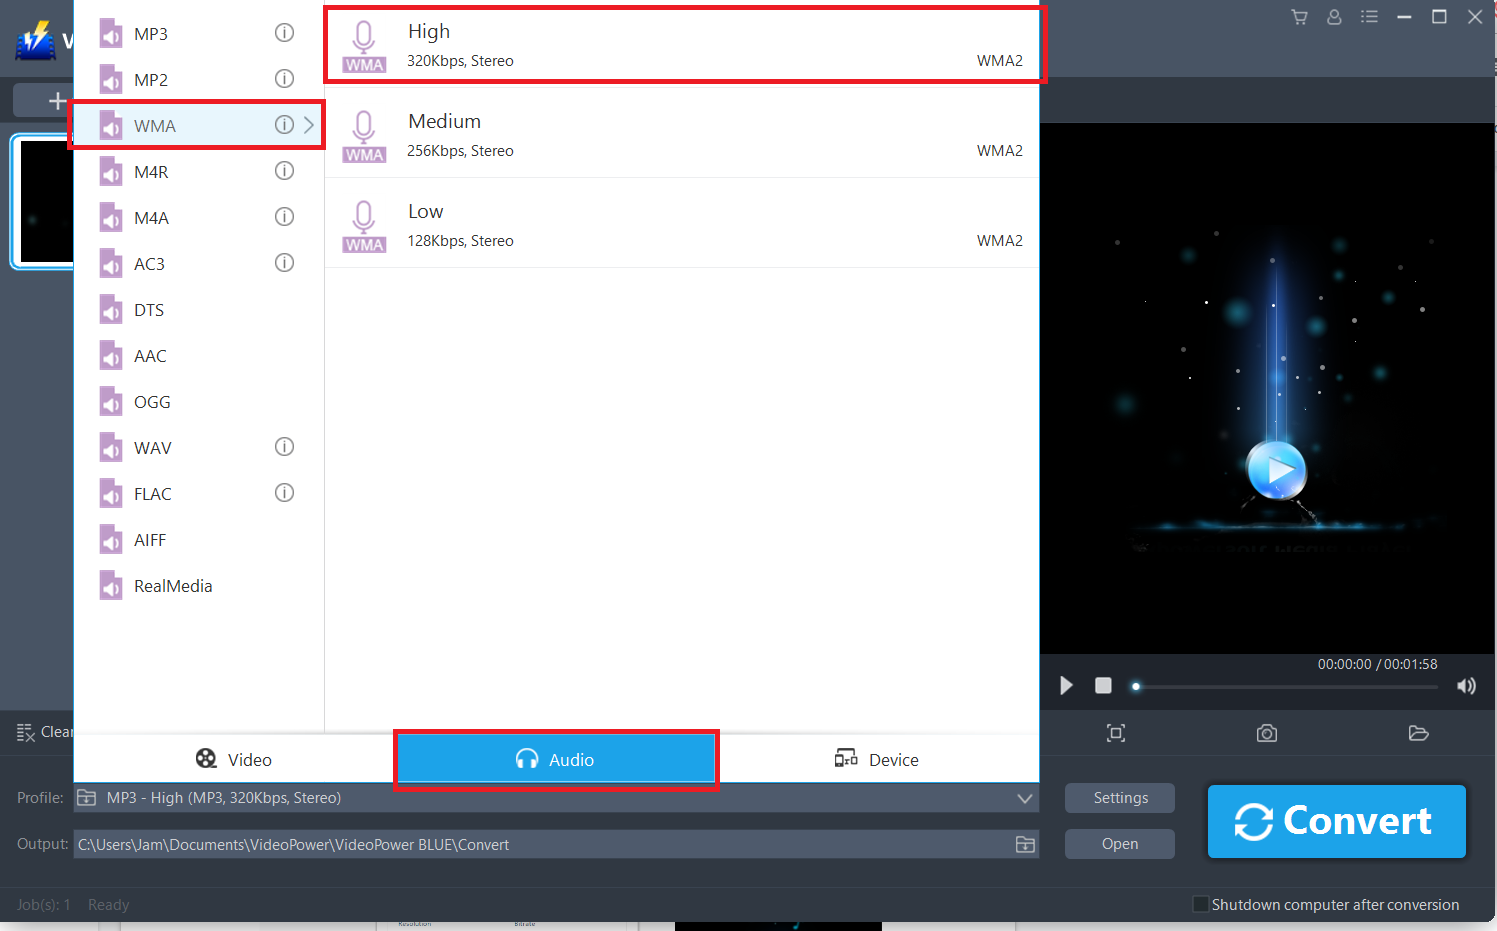
3.1 Set the output format.
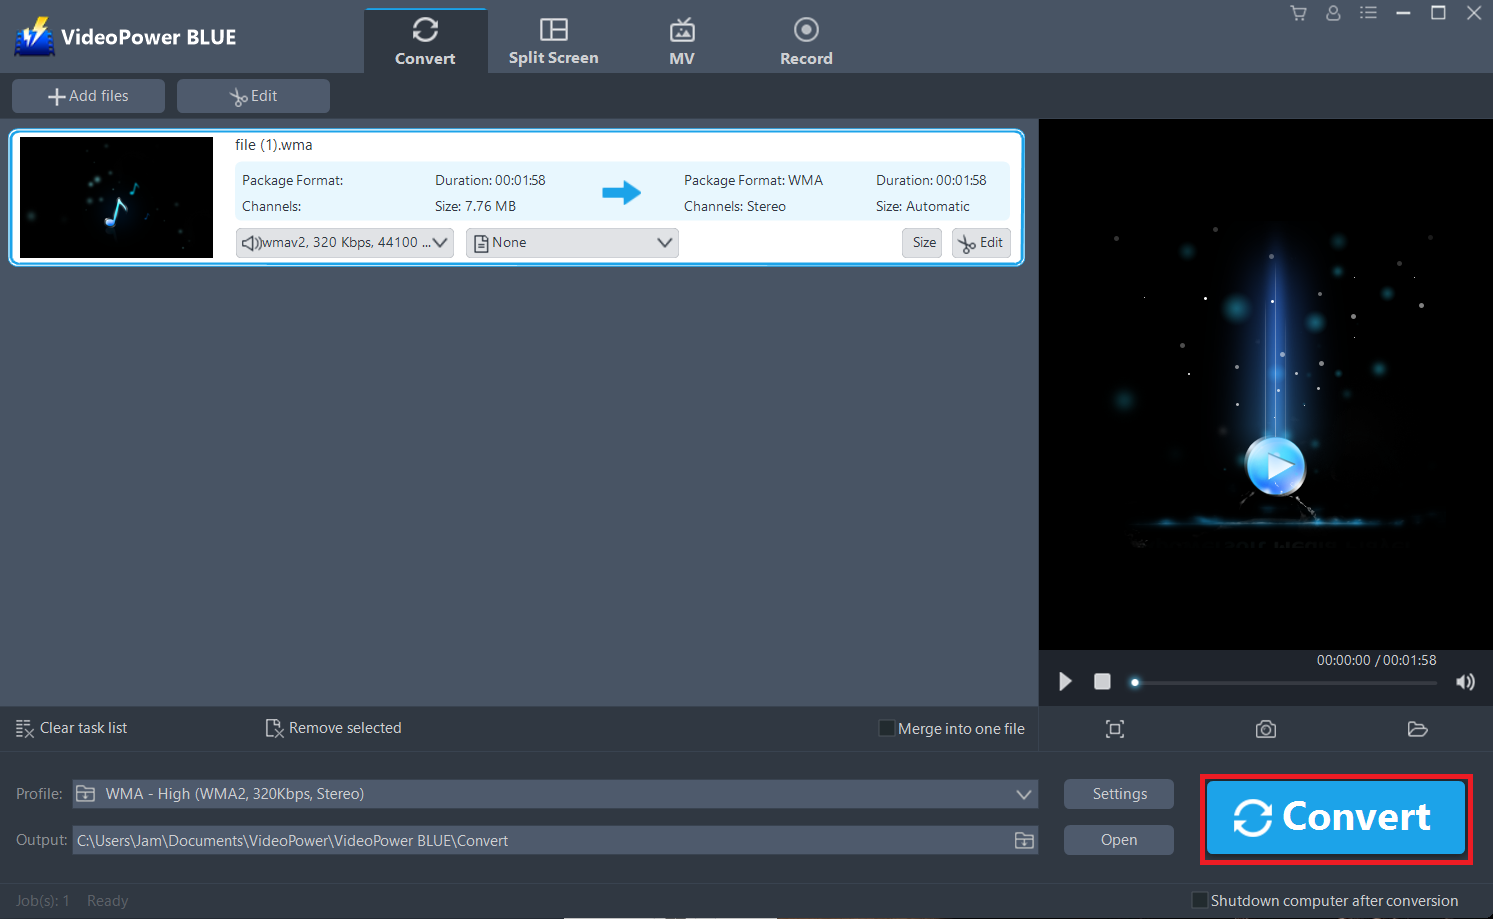
Click to open the “Profile” drop-down menu, then choose the format you want from the profile list. Here choose “Audio”, “WMA”, and “High” quality.
3.2 Start Conversion.
Return to the file list.
Click the “Convert” button, then the converted MP3 file will be saved in the default output folder.
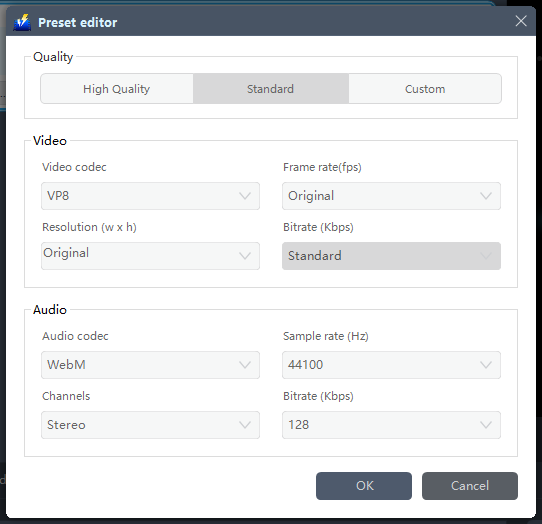
You can also customize frame rate, bitrate, codec, etc. manually. Just click the “Settings” button to enter the “Preset editor” window, then you can change the value and click “OK” to save the settings.
A pop-up window from the program will appear informing you that the conversion is complete. Click “OK” to open the folder of your saved converted WMA files.
Or you can click the “Open” button to find the WMA file.

Conclusion:
Times are changing and compatibility issues are getting rampant due to the fact that some file formats are getting behind and better file formats are being supported by media players. So converting audio files into a better format is not a bad idea at all.
With VideoPower BLUE’s speed in conversion and reliability in terms of quality, your audio and video conversion will be easy. It supports any conversion of video and audio formats with video editing function, enables adding subtitles, applies watermarks, makes MV and split-screen videos. More importantly, it can record screen activity in many different ways, offline and online.